Instrument Change Document (Supplement)
EEV13 on Sauron
Andy Ridings 6th February 2014
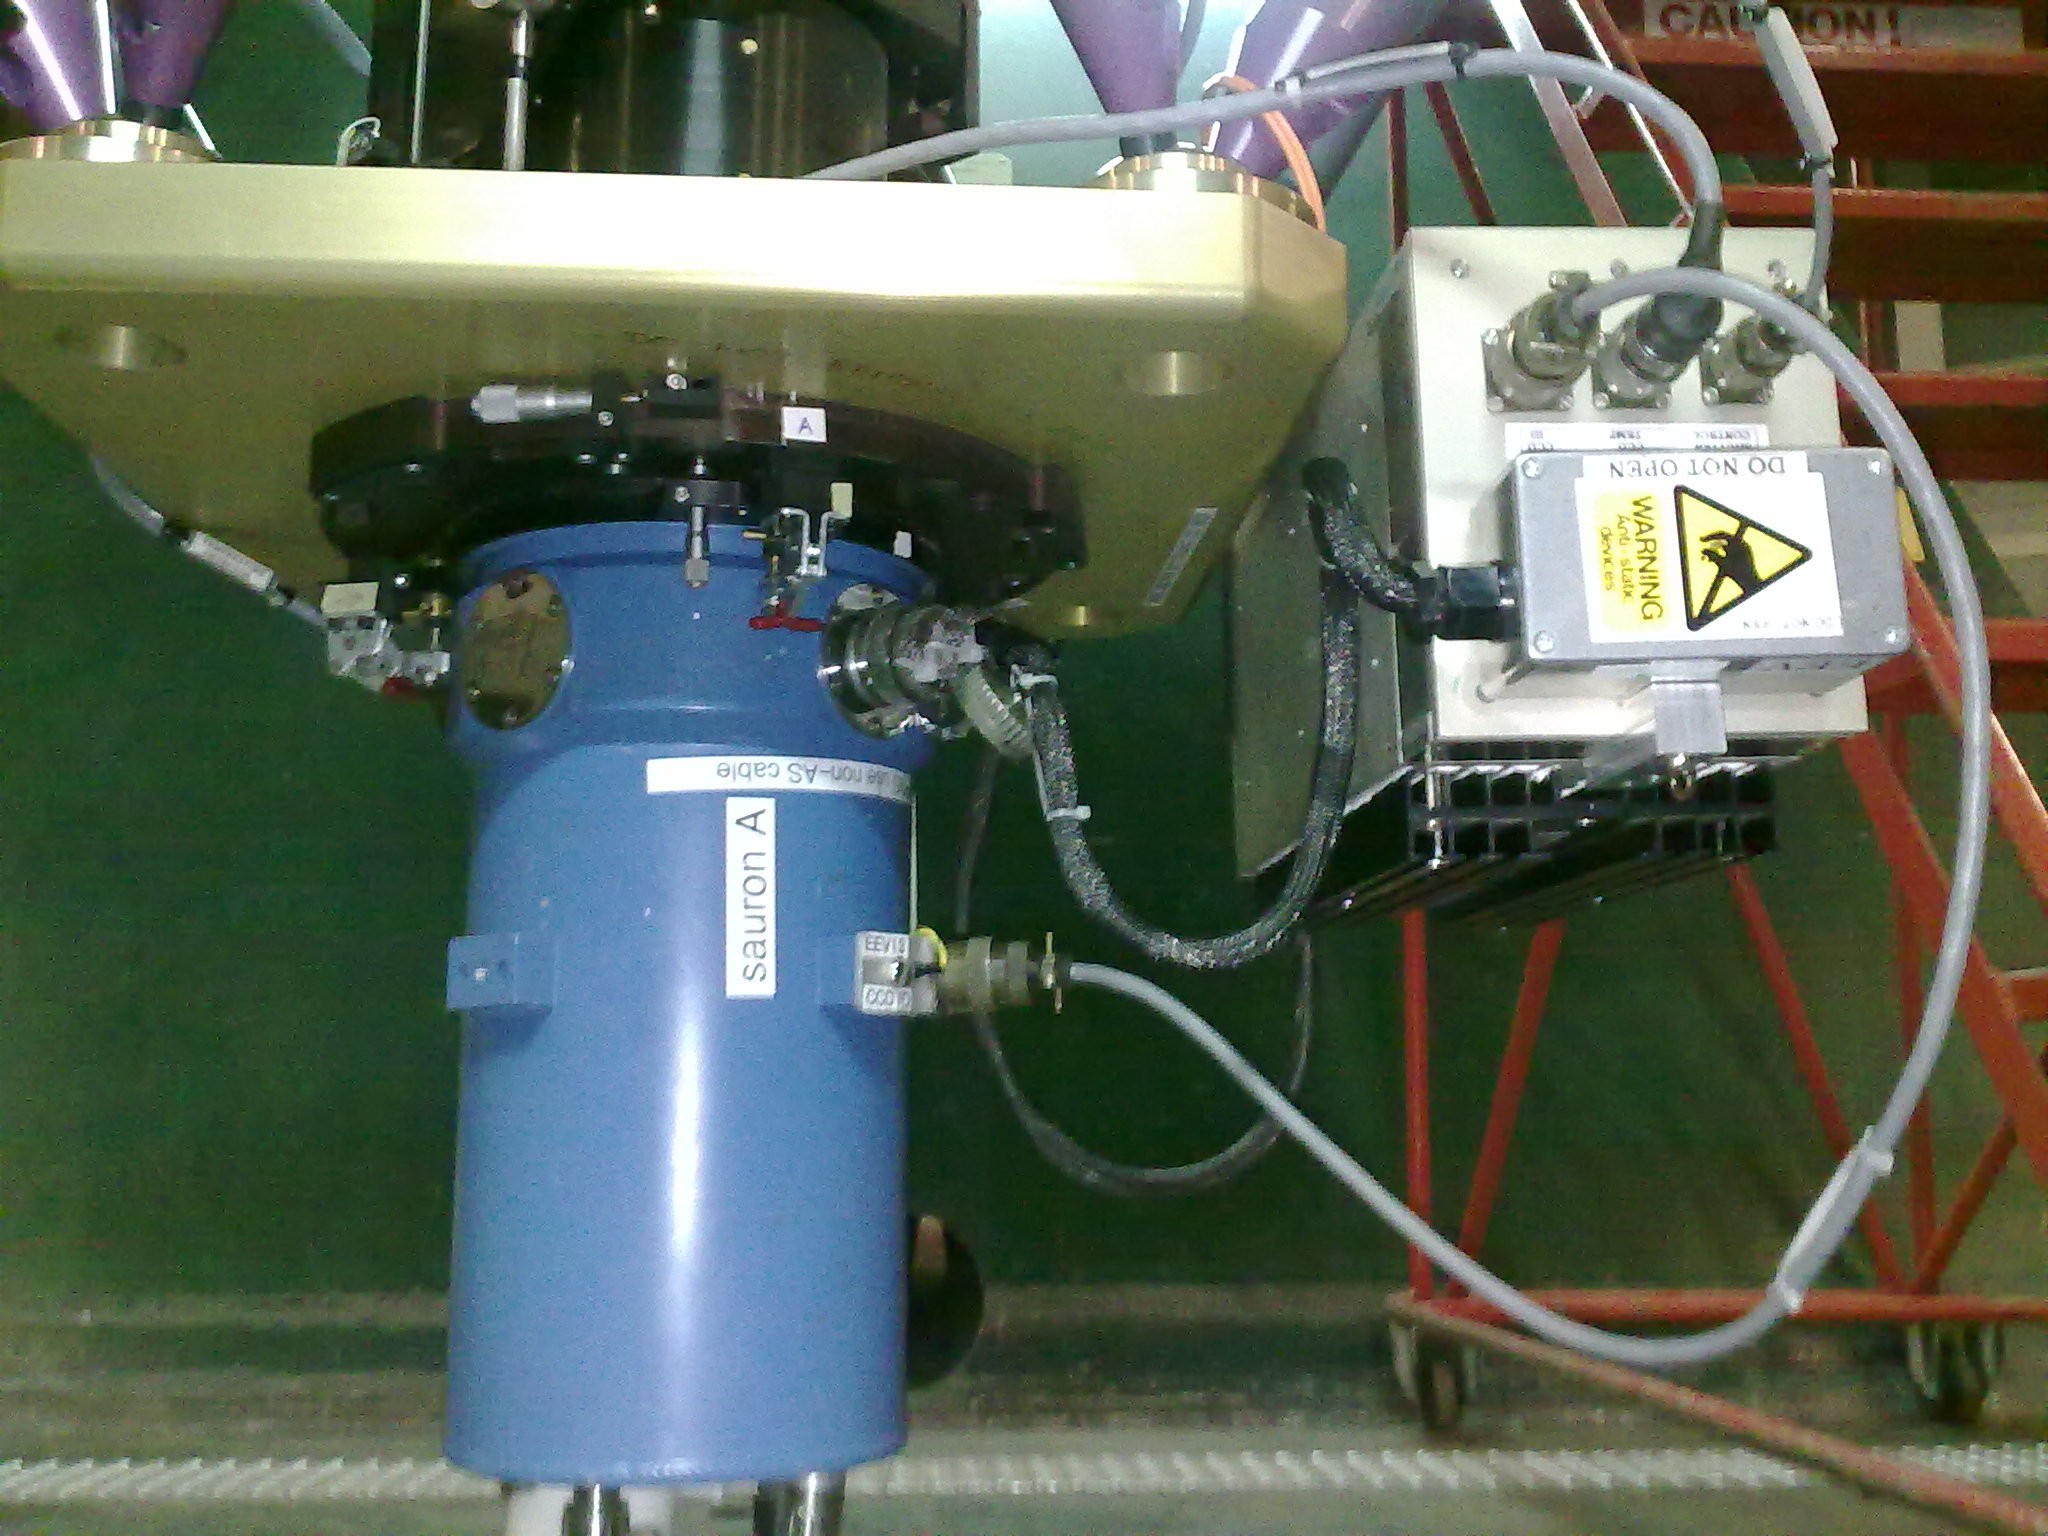
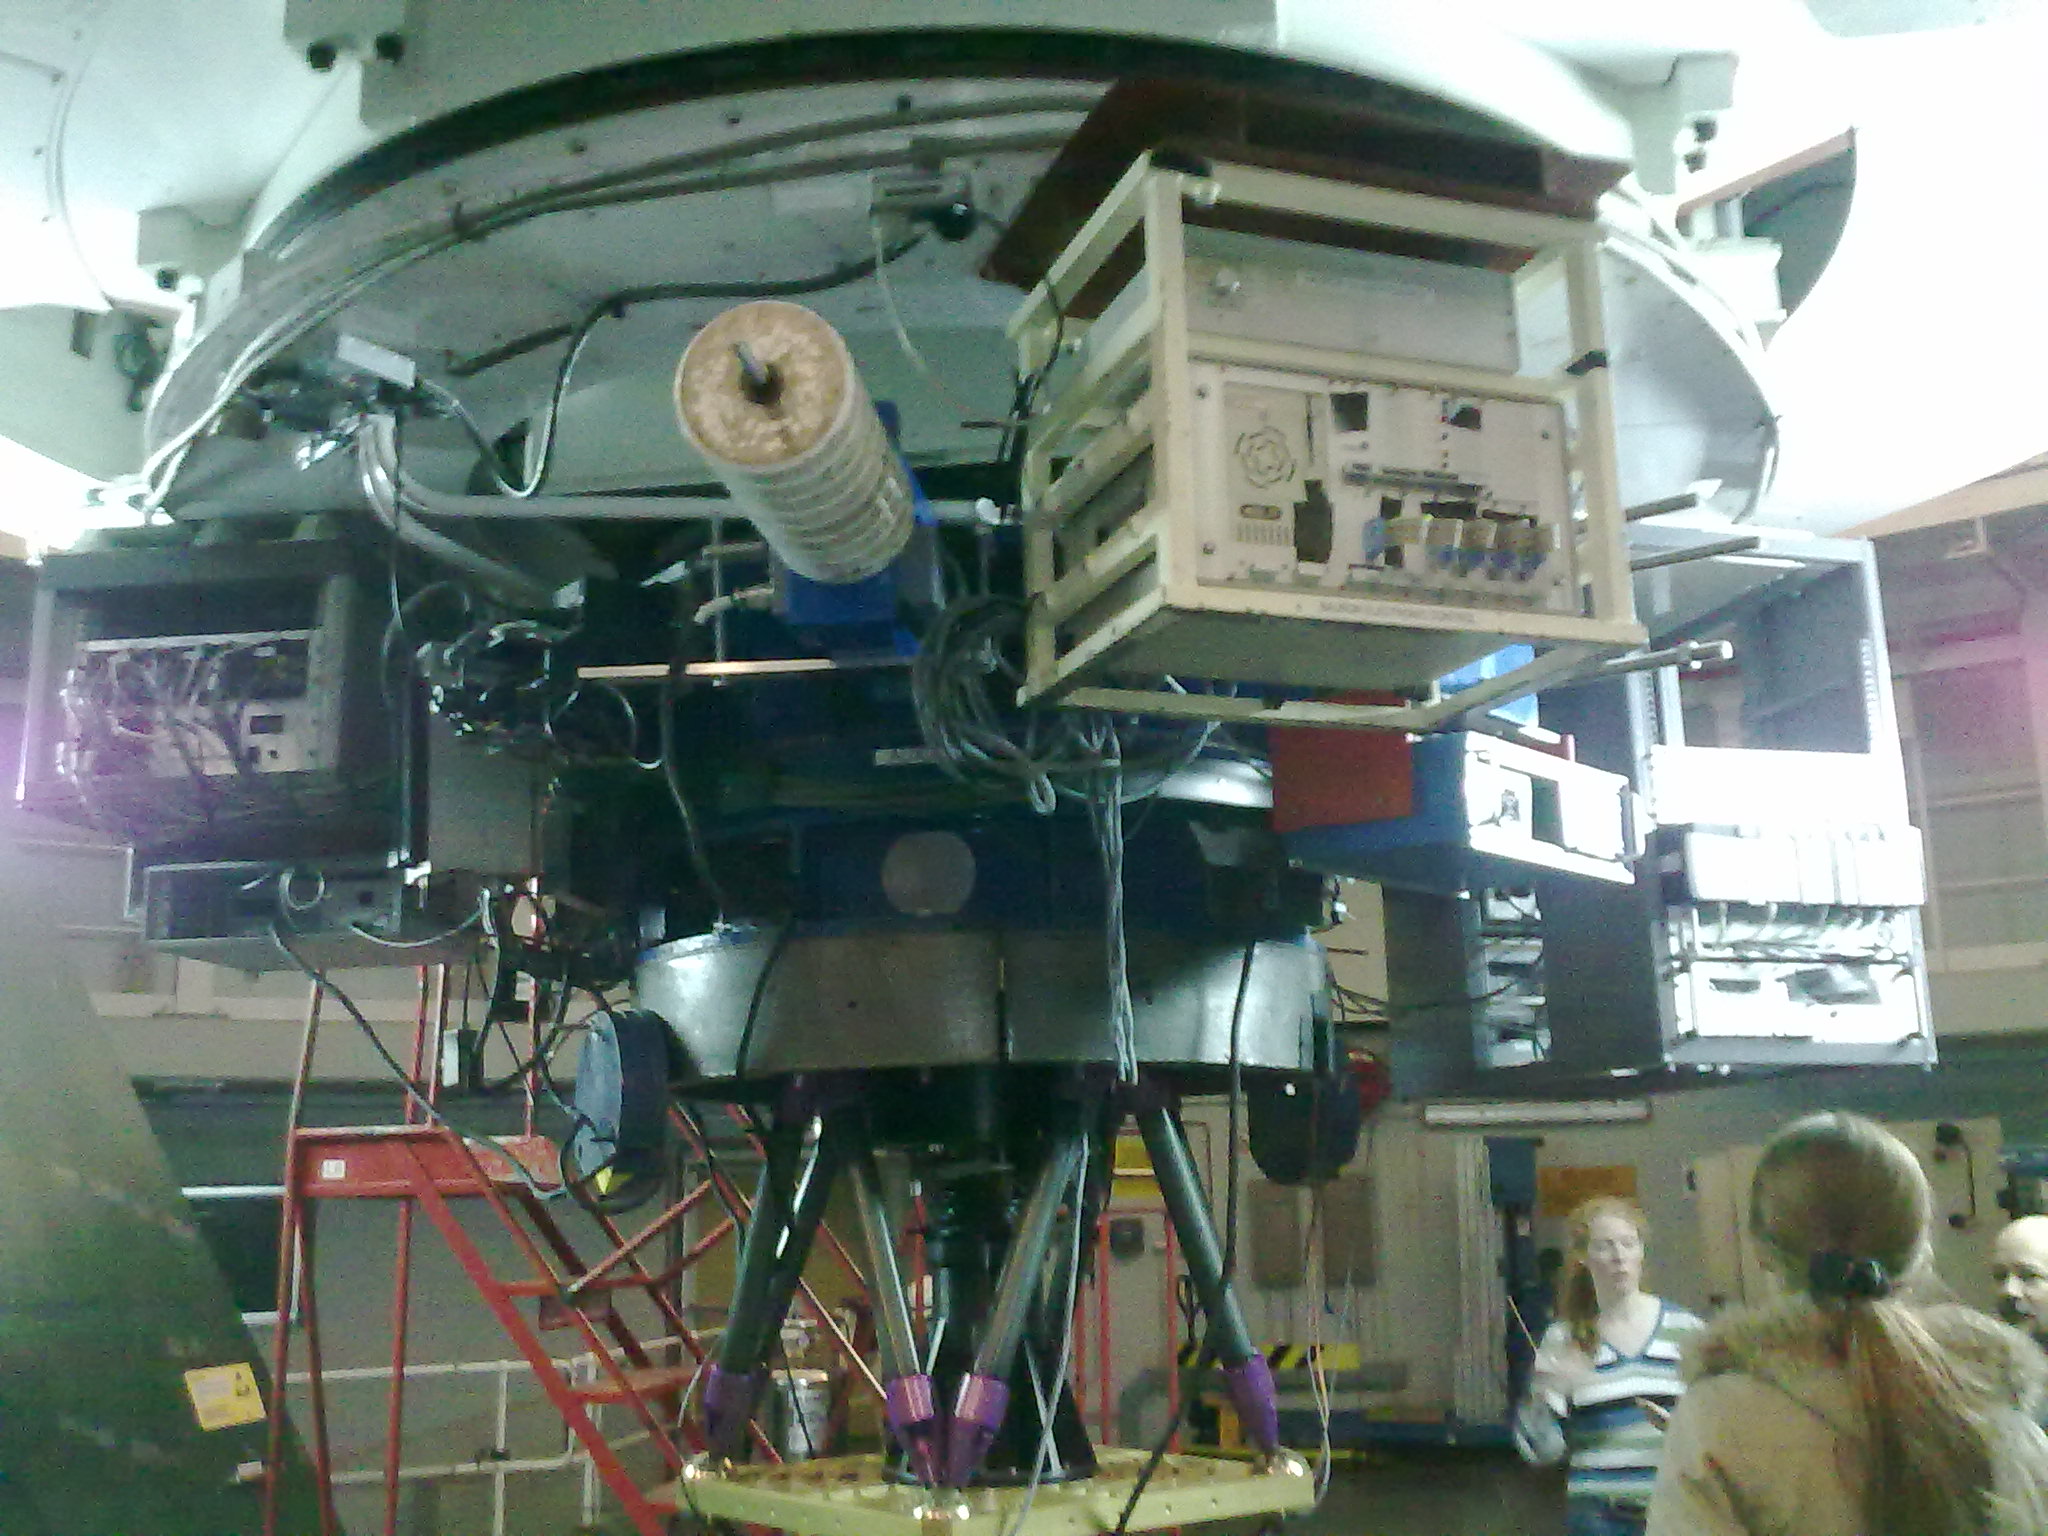
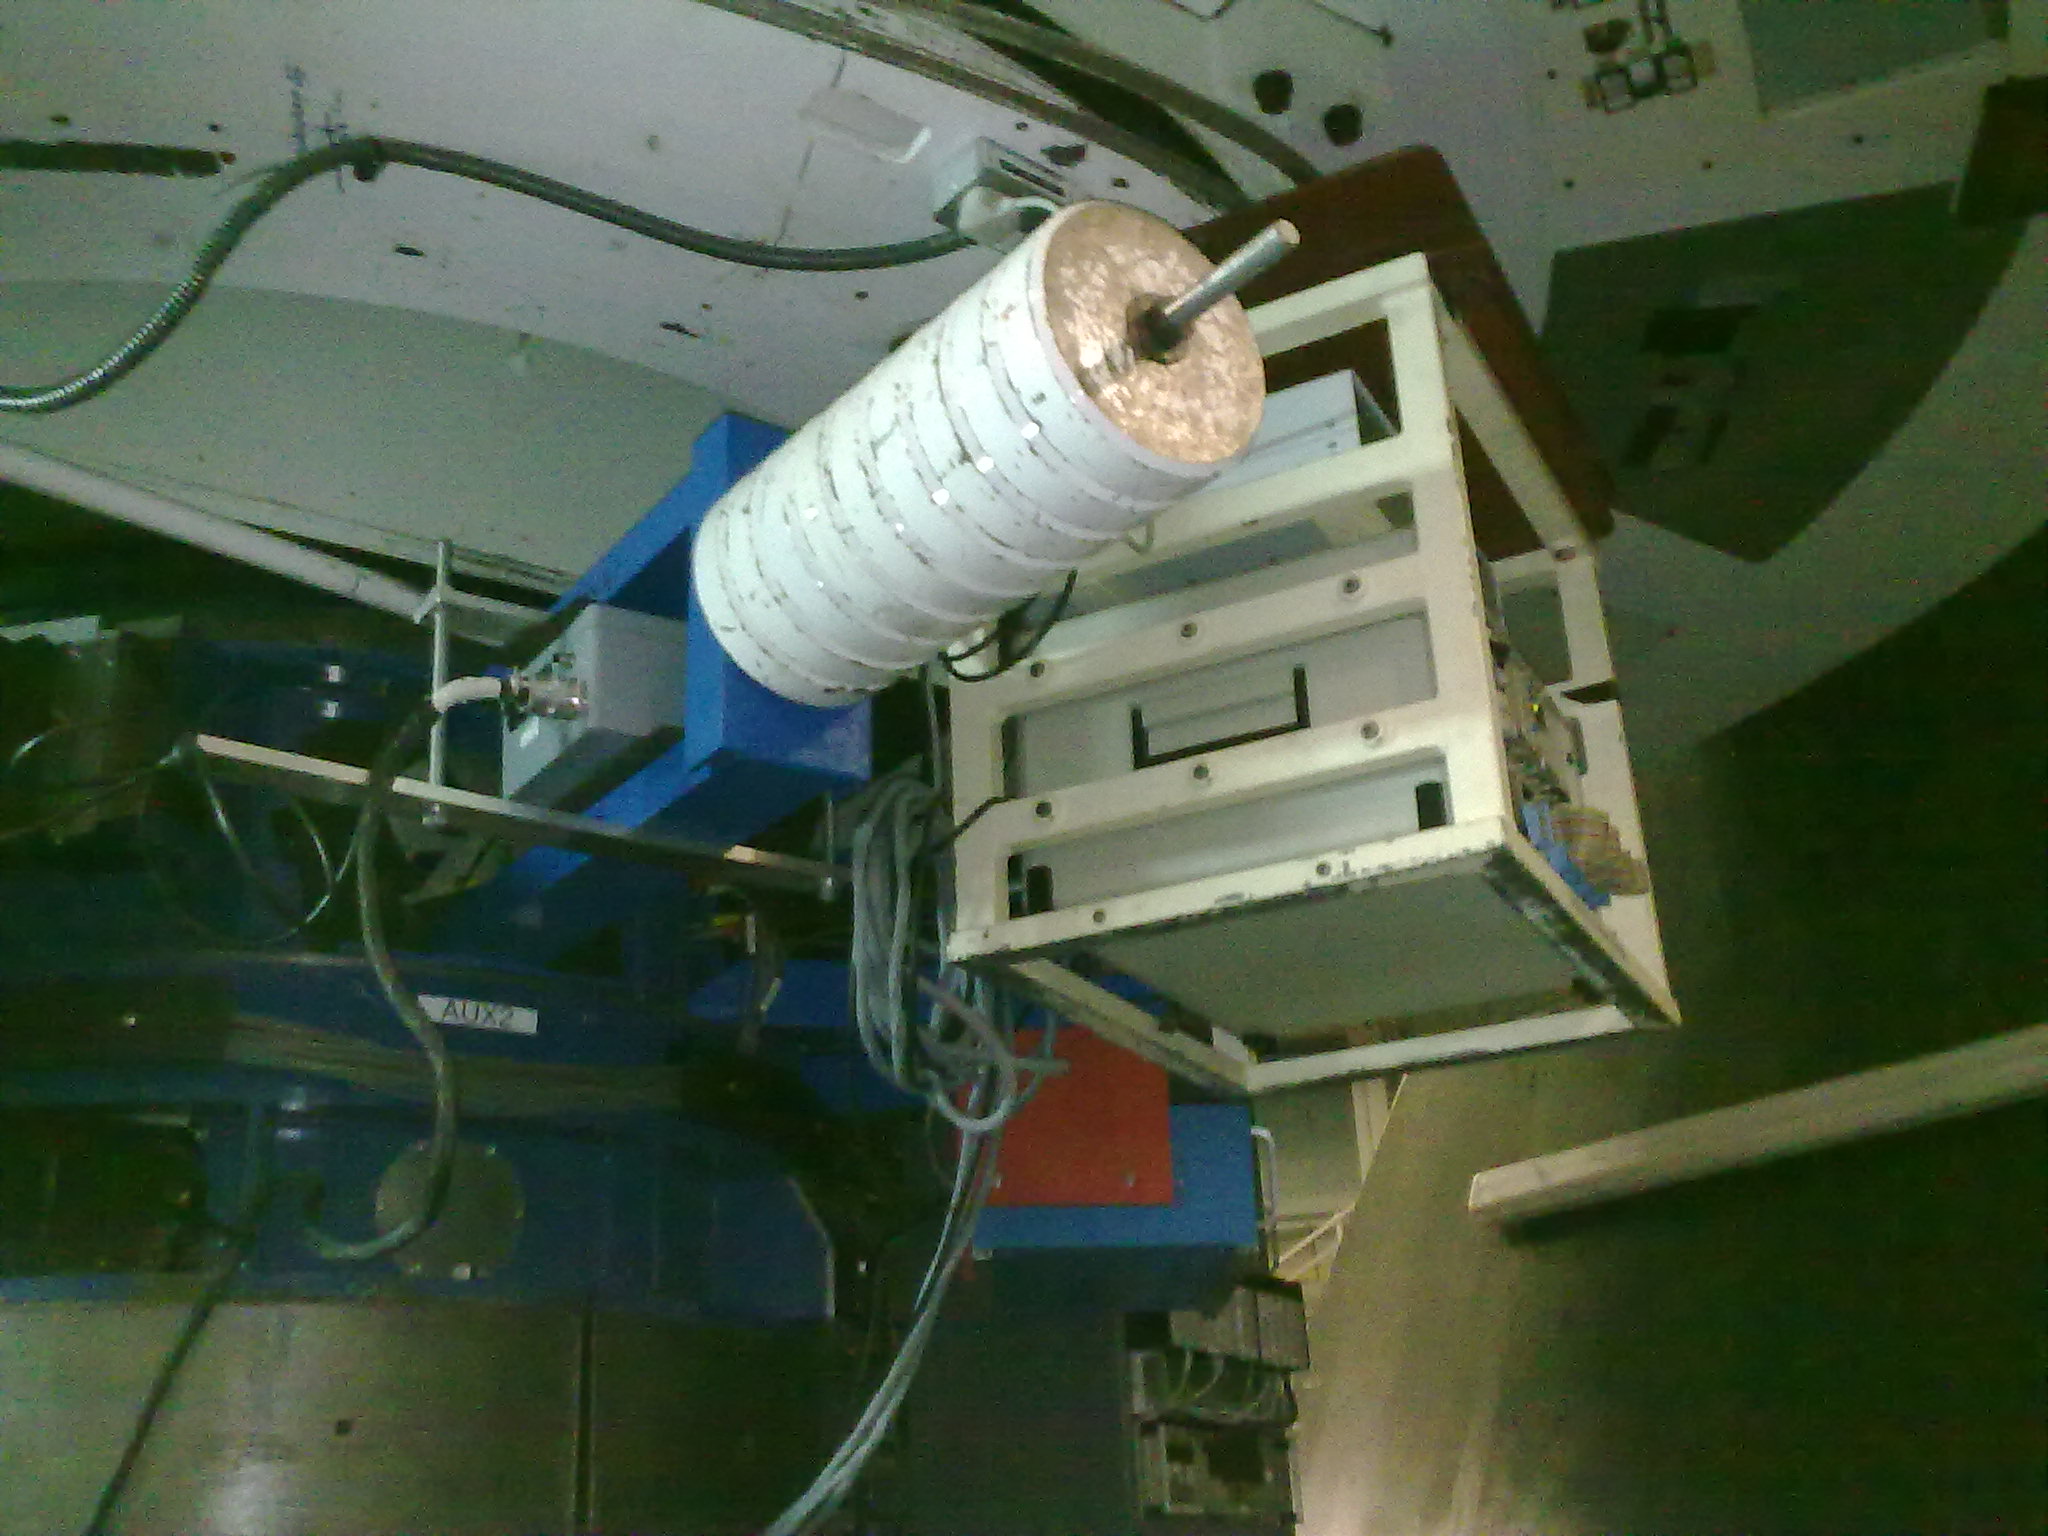
Mounting EEV13 and its SDSU controller on Sauron
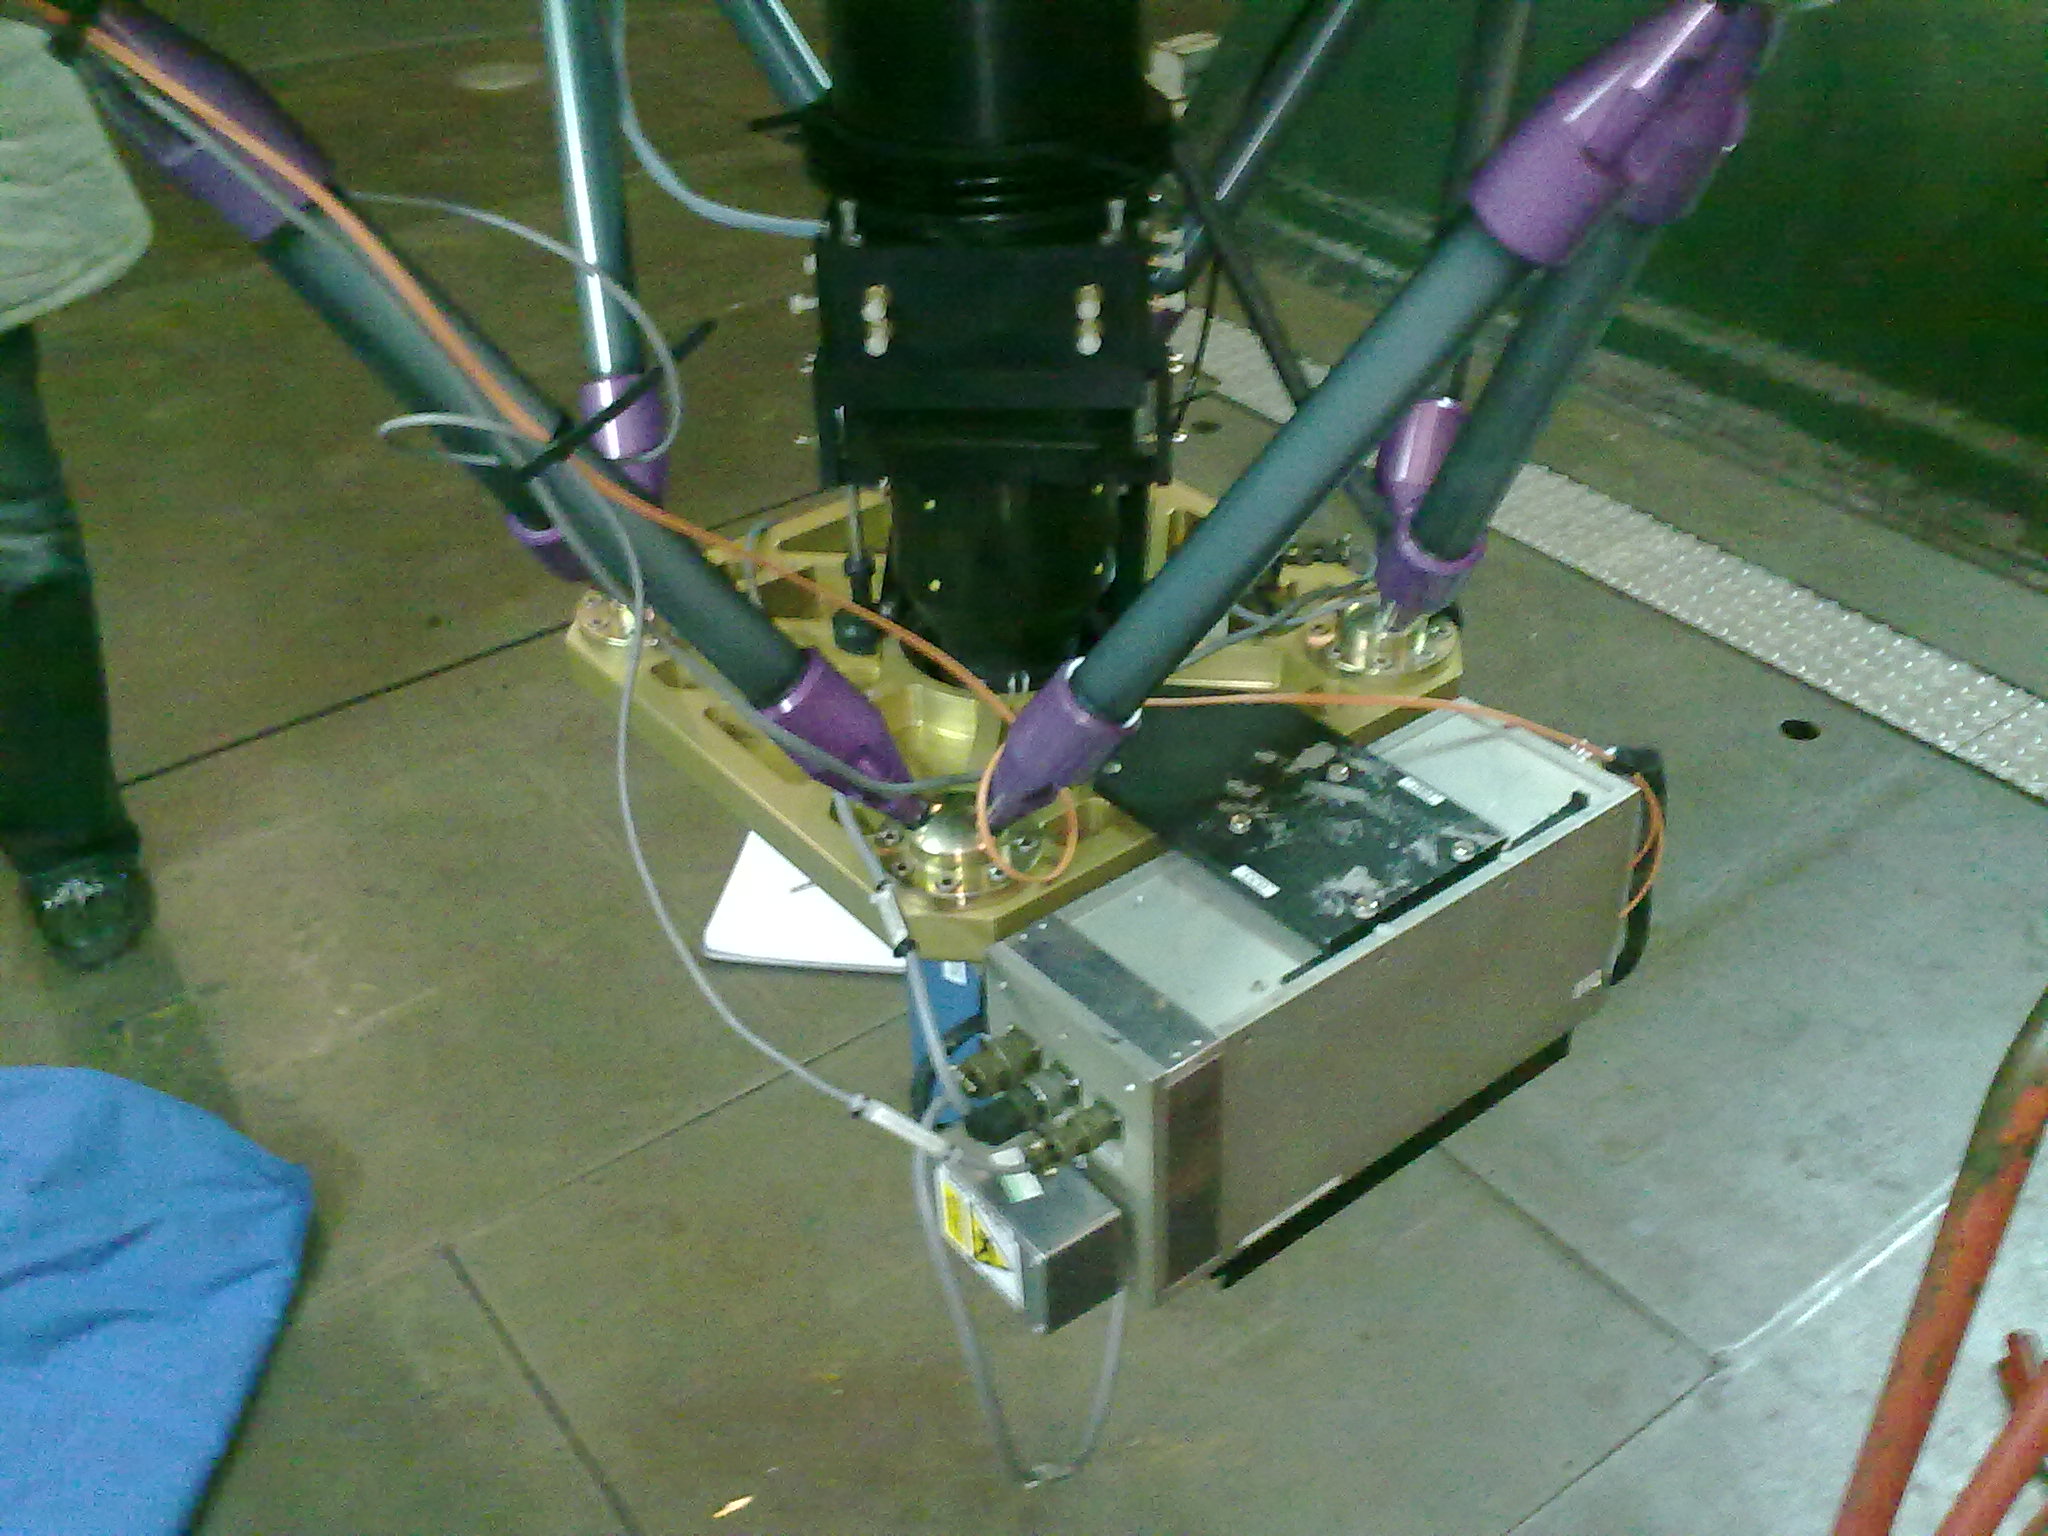
1. Physical Mounting of the controller
| 1. Mount the EEV13 controller on the bracket on the bottom plate of Sauron as indicated in the photo below. | |
| 2. It is important that the four bolts that attach the controller to the anodised bracket pass through the four white plastic insulating sleeves. The controller is therefore insulated from the telescope structure and the risk of patten noise appearing on bias frames is reduced. | |
| 3.Before any cables are attached to the controller, check this isolation with a multimeter. | |
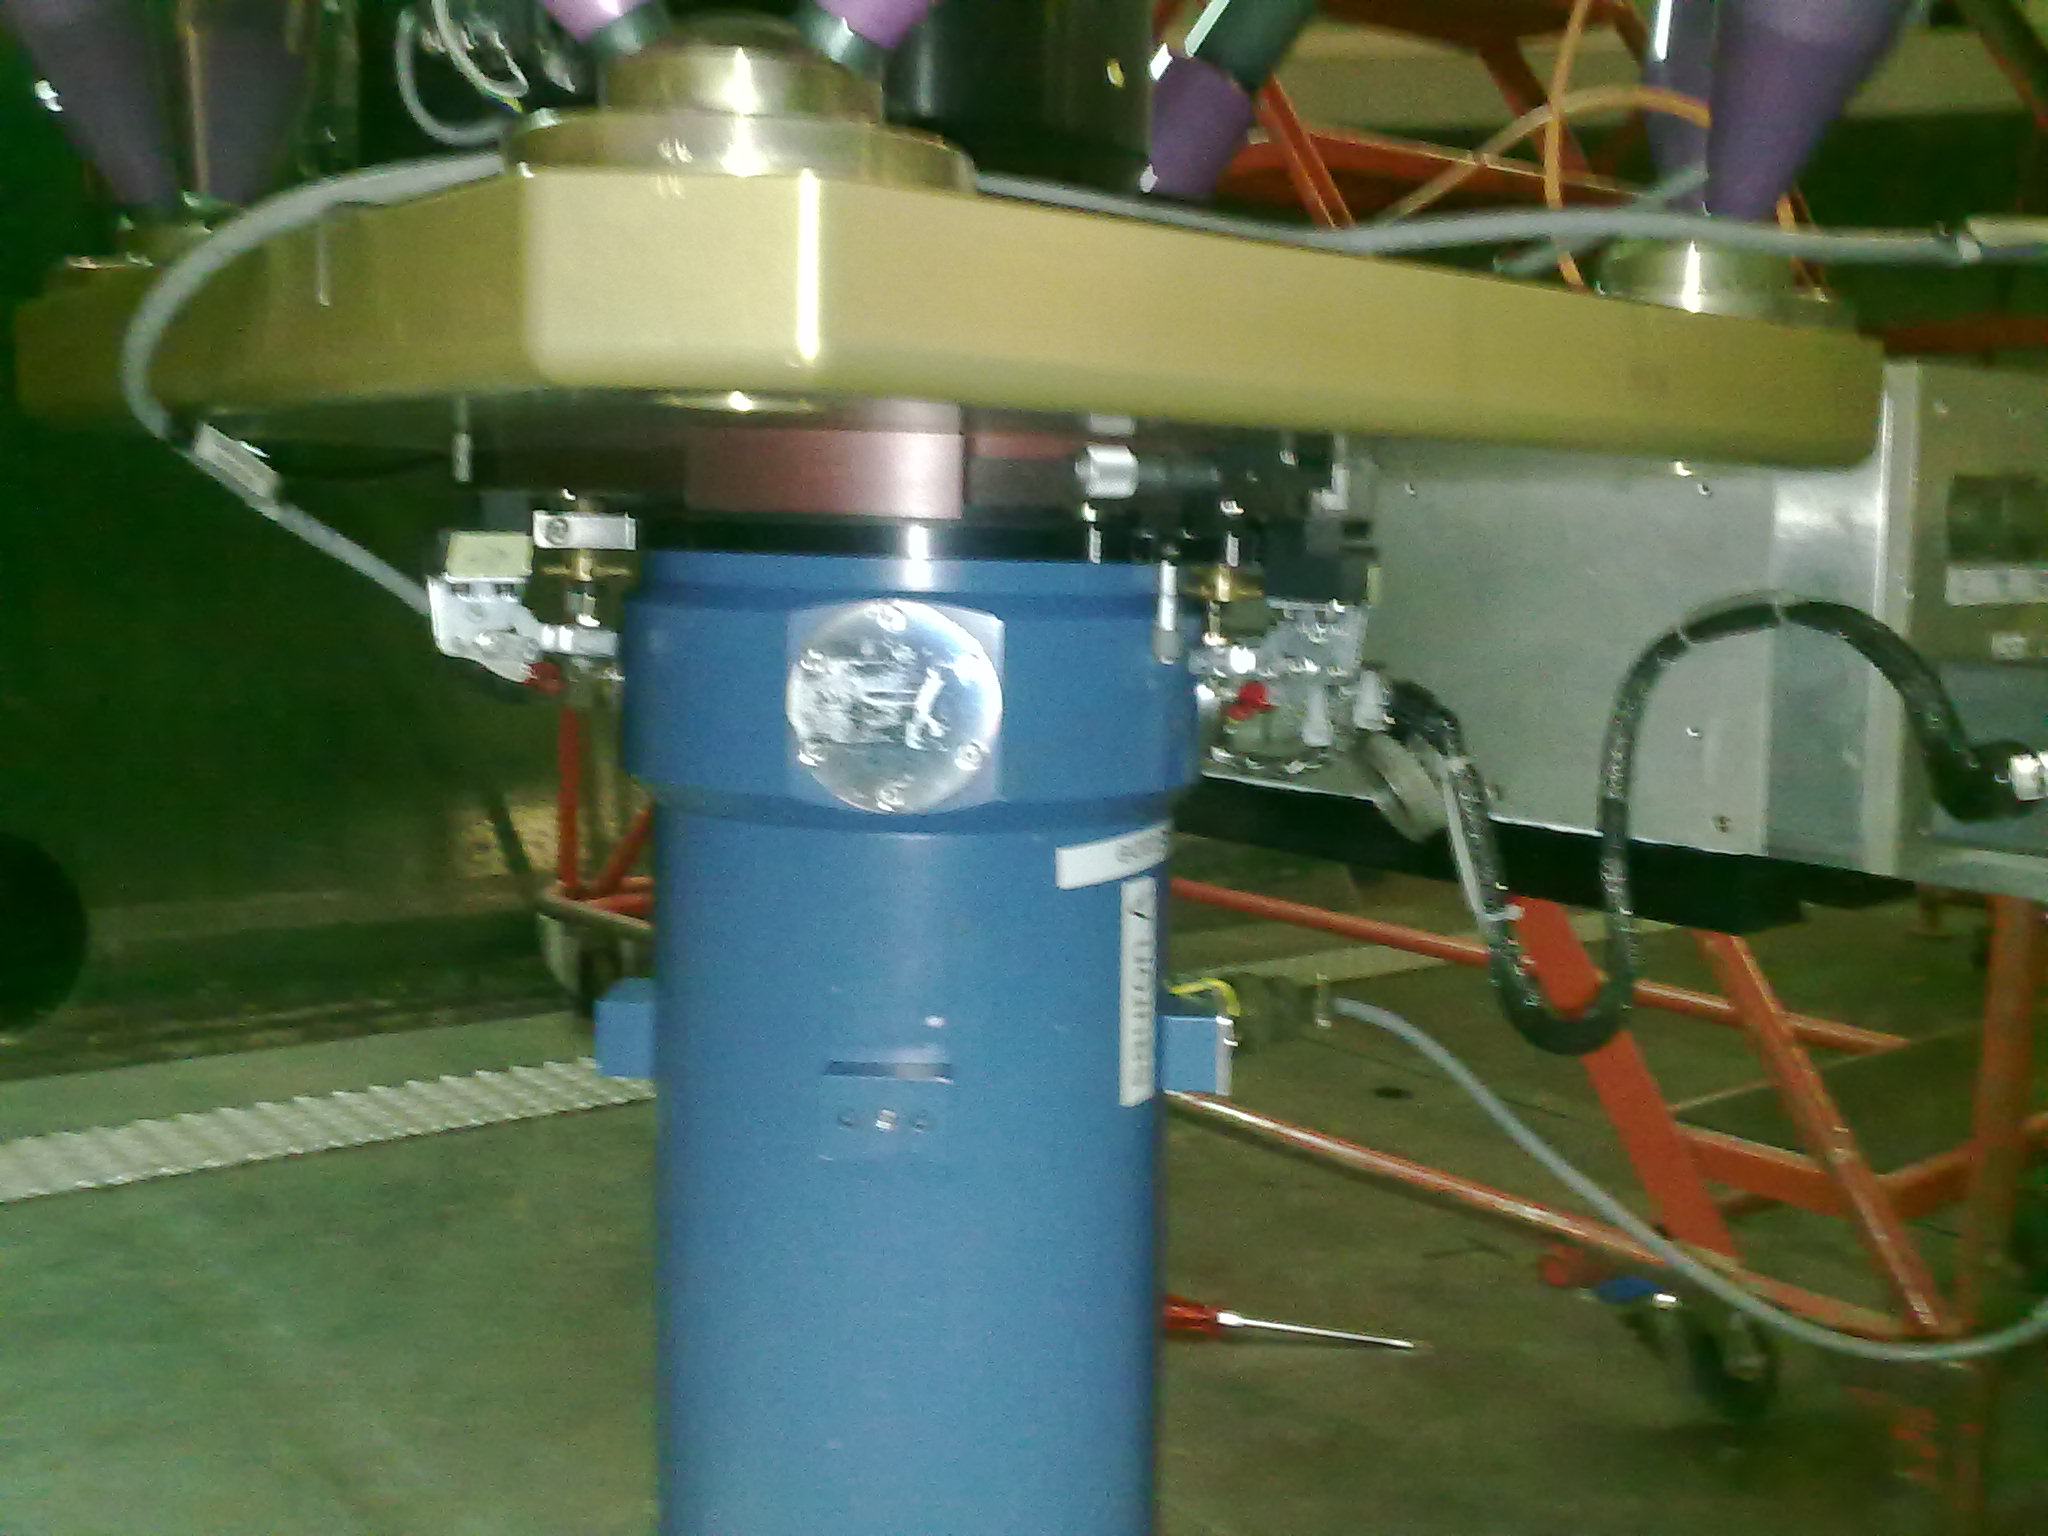
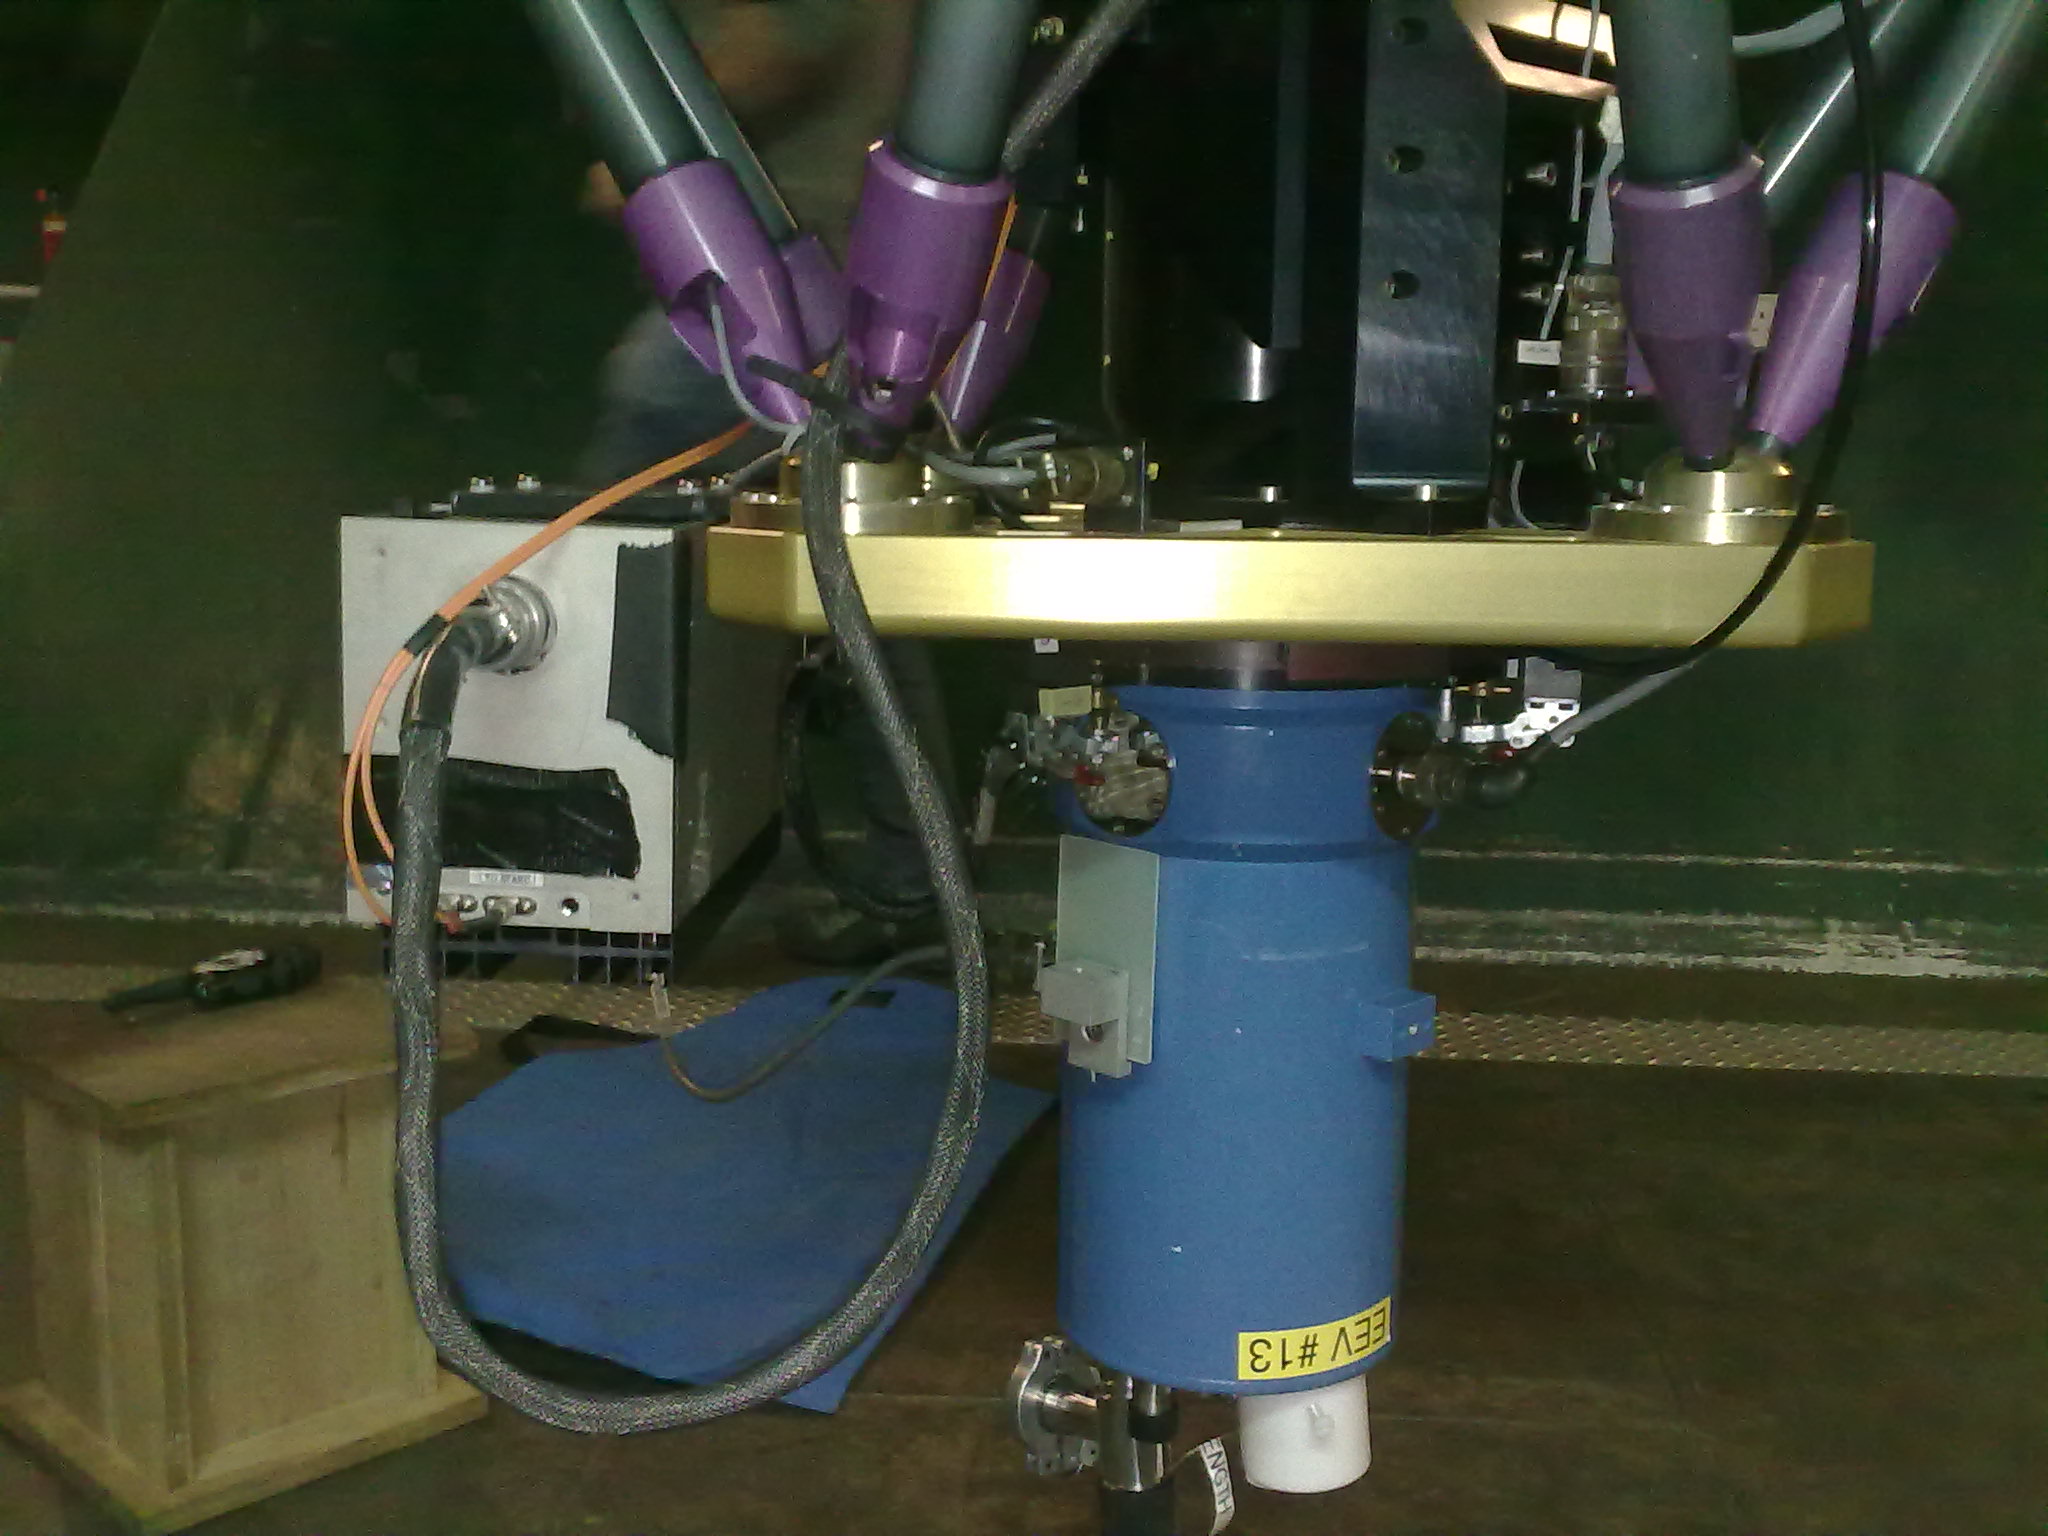
2. Cryostat Mounting
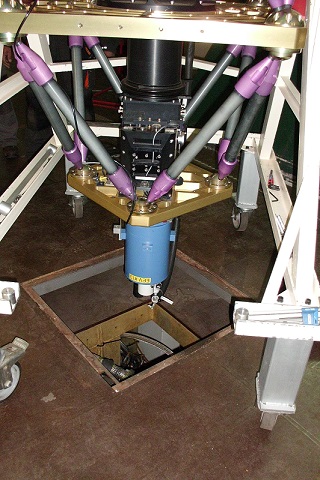
At times it may be possible to leave the cryostat on Sauron, this will reduce the possibility of having to refocus the camera.
If this is the case the cryostat will hit the floor when the instrument is rotated to the vertical position. To avoid this the trap door on the rising floor must be removed and the instrument carefully manoeuvred to accomodate the cryostat. (see image)
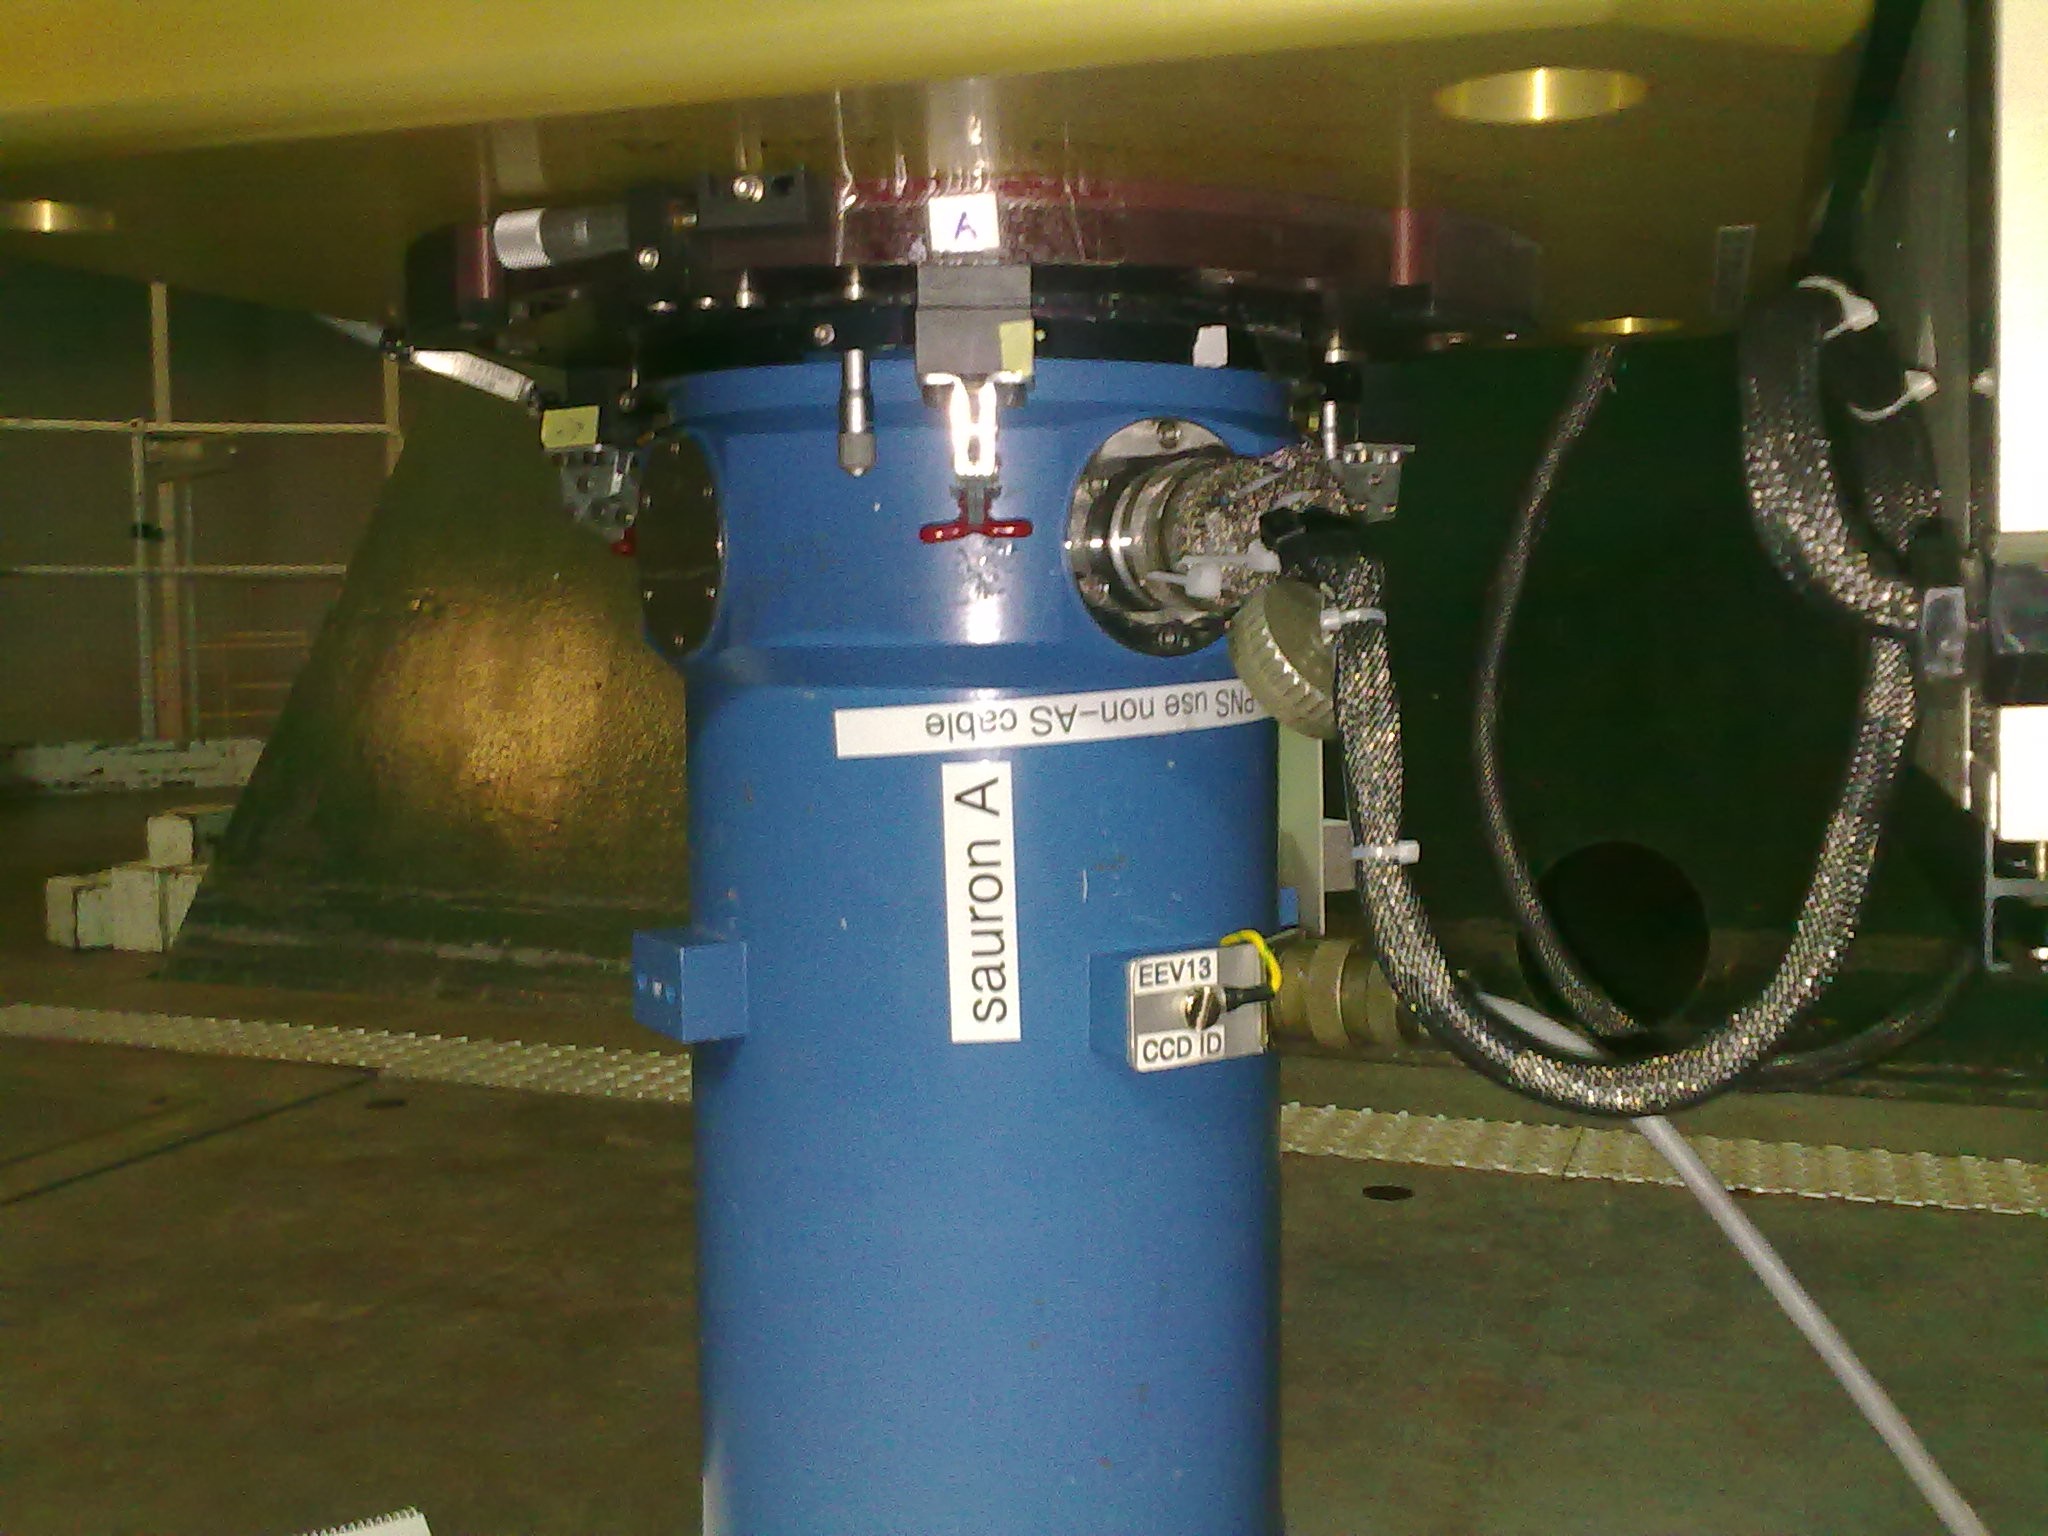
| 1. The EEV13 cryostat should be fitted with a long filler tube prior to cooling when it is to be mounted on Sauron. | |
| 2. Fit the dry air flushing to the CCD window. | |
| 3. Remove the grey dust cap from end of the instrument. | |
| 4. Blow any dust of the cryostat window with compressed air. | |
| 5. Mount the cryostat, ensure correct rotation. Capstan A on he EEV13 cryostat is clearly marked 'Sauron A' (see photo below) this must match the clamp marked 'A' on the instrument. | |
| 6. Check with a multimeter that the cryostat is isolated from the instrument. | |
3. Electrical and Fibre connections
| 1. Connect the power cable between the 'power supply and shutter control rack' and the 'SDSU controller' | |
| 2. Connect the fibres through to the DAS machine in the control room | |
| 3. Connect the ID and temperature cables from cryostat to SDSU controller. | |
| 4. Connect the CCD signal cable between CCD and SDSU controller, it is essential that the operator be correctly earthed using an antistatic wrist strap | |
| 5. Connect the shutter cable between the SDSU controller and the shutter card and between the shutter card and Sauron shutter. | |
| 6. Now power on the SDSU PSU and the shutter card PSU | |
4. Running up Ultradas with EEV13 on sauron
| 1. Using 'Dewars' configure the observing system to include EEV13 on Sauron. | |
| 2. Start the observing system in the orange DAS window for the DAS machine being used by Sauron. | |
| 3. Start the observing system in the pink window. | |
| 4. Take a bias and check bias and noise figures against the web page. | |
| 5. Take a run to check the shutter and check the device is sensitive to light. | |
5. A picture paints a thousand words