Instrument Change Document
Planetary Nebula Spectrograph
Andy Ridings 16-Apr-2008
Draft
PNS Instrument Mounting
Tick each box when complete |
Tick box |
| 1. Use GENERIC intrument removal checklist together with this document. Please complete before any instrument change. Make entry in log book: DO NOT MOVE TELESCOPE | |
| 2. Position the telescope for the change, Azimuth 300 degrees & Elevation 90 degrees. | |
| 3. Lock the telescope off in control room. | |
| 4. Turn the cassegrain rotator to the correct angle. | |
| 5. Put the telescope ties in on the Grace side. | |
| 6. Remove all connections on the instrument to be removed. | |
| 7. Move instrument handling under instrument, align and attach. | |
| 8. Unbolt and remove instrument. | |
| 9. Mount PNS mounting ring. | |
| 10. Check that PNS lid has been removed. | |
| 11. Move PNS into place, align and bolt on. ONE person only to check all bolts are tight. | |
| 12. Lift down and store trolley. | |
| 13. Balance telescope. |
PNS Instrument cabling
Tick each box when complete |
Tick box |
| 1. Connect the PNS laptop to 'PNS laptop' cable which can be found in the back of the control desk where the observer sits. This provides a serial connection to the instrument controller. | |
| 2. Check that the other end of this cable is connected to the CASS RS232 breakout box channel 1 in the back of the far right hand blue cabinet. It is marked 'PNS B'. | |
| 3. Connect the PNS serial cable from the mirror cell breakout box channel 1 also marked 'PNS B' to the connecter marked 'SERIAL PORT IN' on the back of the PNS instrument controller. | |
| 4. Connect the H-alpha arm fast shutter to the connector on the back of the PNS controller marked 'UNIBLITZ CHANNEL 1'. | |
| 5. Connect the PNS Shutter to the connector marked M1 on the back of the PNS controller. | |
| 6. Connect the PNS Mask to the connector marked M2 on the back of the PNS controller. | |
| 7. Connect PNS Filter1 to the connector marked M3 on the back of the PNS controller. | |
| 8. Connect PNS Filter2 to the connector marked M4 on the back of the PNS controller. | |
| 9. The currently used controller is is the second the PNS has had. The instrument has 2 switches, one where the Shutter is connected and a second where the Mask is connected. These should both be set appropriately, ie 1 for controller 1 and 2 for controller 2. | |
| 10. The ING shutter cables are not required, nor are the dummy shutters. They need not be fitted. | |
PNS CCD Mounting
| 1. For each of the 3 cryostats to be fitted to PNS remove all 3 of the capstans. | |
| 2. Clean the windows with the air line. | |
| 3. Then each cryostat should be bolted to the appropriate mounting flange through the teflon spacers. | |
| 4. Check with a multimeter that each cryostat is isolated from PNS. | |
| 5. Mount each of the SDSU controllers ensuring that each is isolated from the PNS. | |
PNSHA arm CCD Connections and Earthing
| 1. Check that the earth strap from the PNSHA arm mounting ring to the instrument body is fitted. | |
| 2. The PNSHA arm SDSU PSU should be fitted in the rack isolated from the telescope with red plastic, this PSU should then be connected to the body of the instrument with an earth strap. | |
| 3. Fit the dry air flushing to the CCD window. | |
| 4. Connect the fibres, ID cable, temperature cable and power. | |
PNSL arm CCD Connections and Earthing
| 1. Fit an earth strap from the PNSL arm SDSU controller to the body of the instrument. | |
| 2. Fit the dry air flushing to the CCD window. | |
| 3. Connect the fibres, ID cable, temperature cable and power | |
PNSR arm CCD Connections and Earthing
| 1. Fit an earth strap from the PNSR arm SDSU controller to the body of the instrument. | |
| 2. Fit the dry air flushing to the CCD window. | |
| 3. Connect the fibres, ID cable, temperature cable and power | |
PNS Checks
| 1. When editing the 'config' file ensure that e.g. EEV12PNS is used and not EEV12, this tells the system that there are no ING shutters fitted. | |
| 2. Switch on the PNS controller and then switch off the LEDs on each of the 4 sections of the front panel. | |
| 3. At the PNS laptop check there is communication with the instrument controller. | |
| 4. More to follow..... | |
| 5. | |
| 6. |
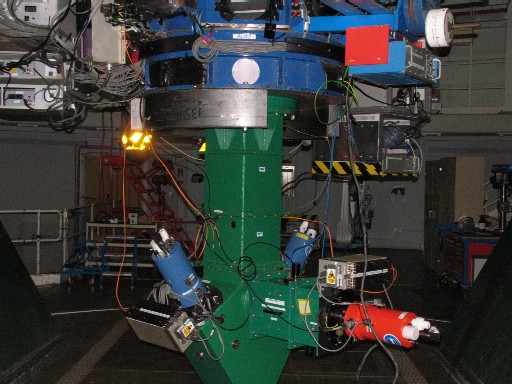
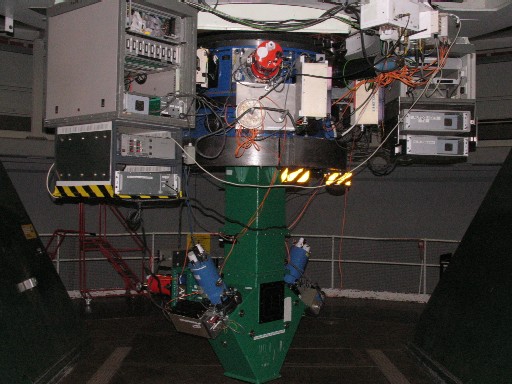
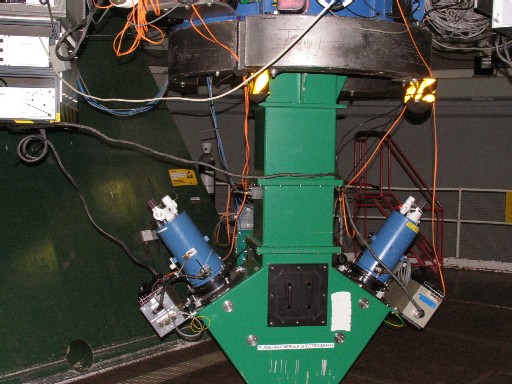
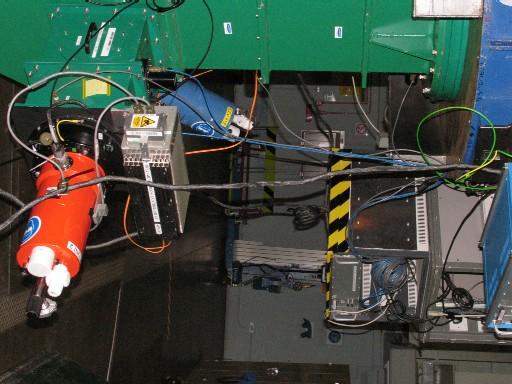
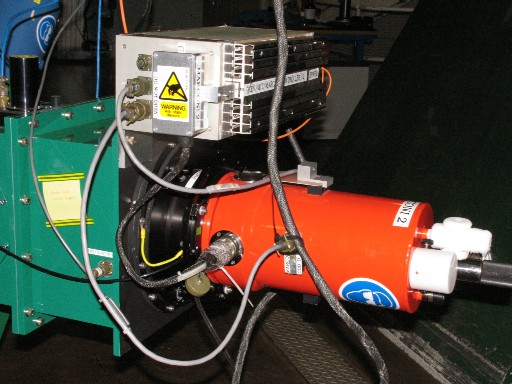
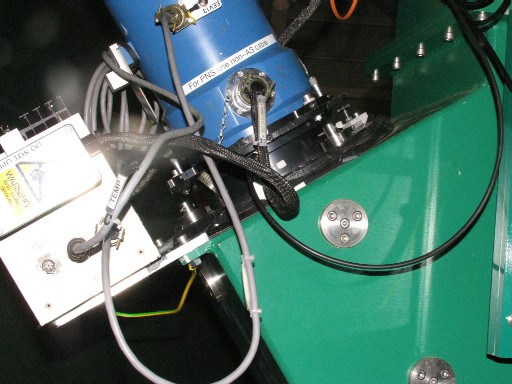
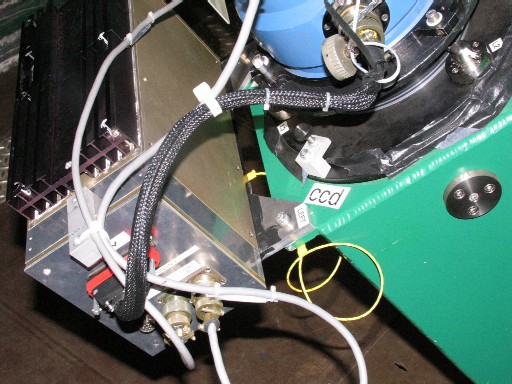
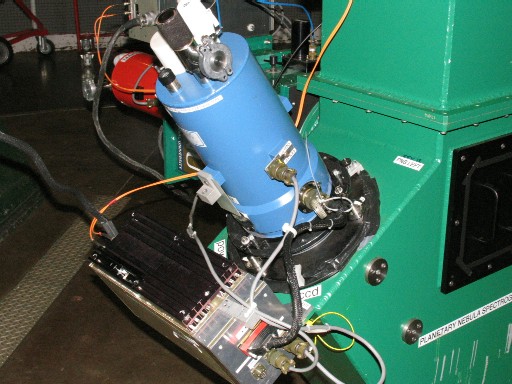
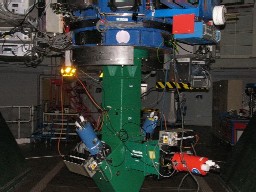
A picture paints a thousand words
Images from the run starting 29th March 2008