Liris cold head Removal, Cleaning and Replacement
Andy Ridings, Roberto Martinez
3rd August 2018
This document describes the removal, cleaning and replacement of the Liris cold head.
Strictly speaking we are describing the splitting of the cold head into its 2 principle components, the moving part of the head and the sleeve. In an ideal world the entire cold head would be changed, however the design of the instrument makes this a huge task. In the real world it is possible to change just the moving part of the head and leave the sleeve in place.
Although the manufacturer's technical support will privately confirm that this is a reasonable operation, splitting a new or reconditioned head does immediately invalidate the warranty.
The moving part of the head can be cleaning and refitted or a new replacement part can be fitted. The procedure is the same.
Whilst handling internal components or touching internal surfaces gloves should be used to protect head from dirty hands.
Before starting this process Liris must be at room temperature and ventilated !!!
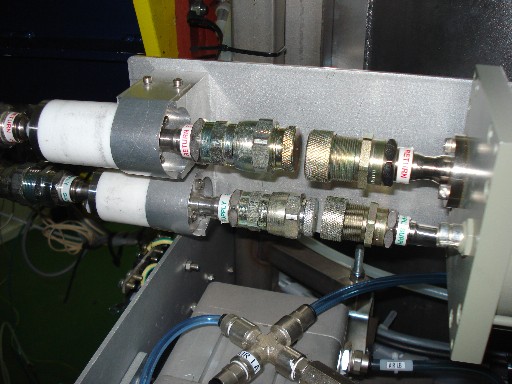
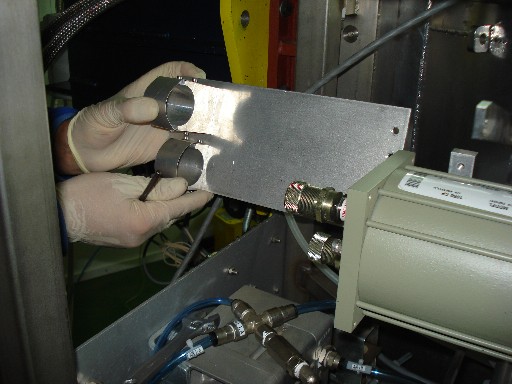
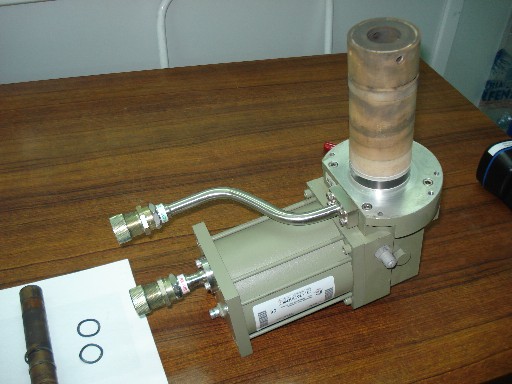
1. Disconnect the helium lines form the cold head, and remove the helium line support.
2. Remove the 4 bolts that hold the protection ring that surrounds the helium pressure release bolt.
3. Remove the protection ring.
4. Remove the plastic ring from behind the protection ring.
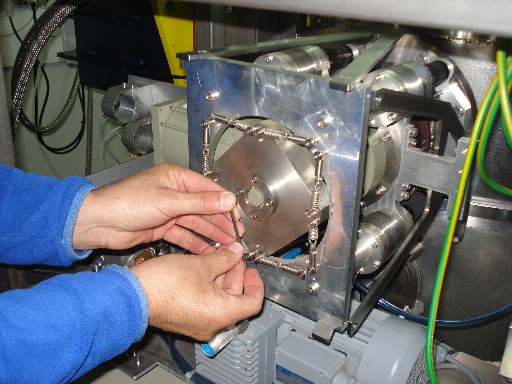
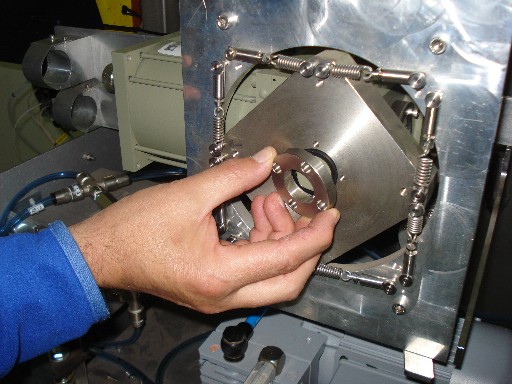
5. Block the 4 corners of the cold head anti-vibration mount.
6. Remove the bolts anti-vibration mount front plate.
7. Remove the front plate
8. Be careful not to lose the O ring in the centre of the plate, and note the orientation.
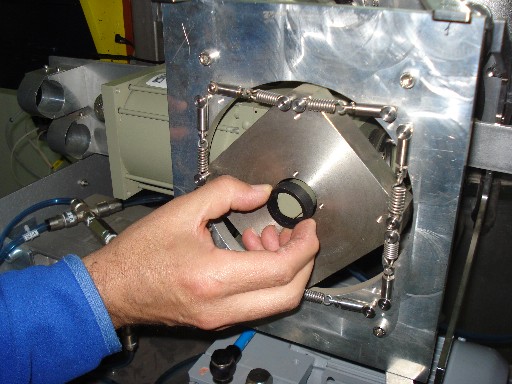
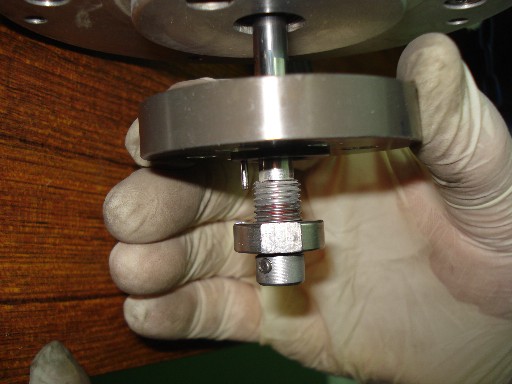
9. Before the head can be split pressure must be released from the head. Carefully slacken just a little the helium pressure release bolt. This will release the pressure inside the cold head, do not do more than just slacken the bolt, undoing the bolt too much too quickly could cause it fly out in a dangerous fashion.
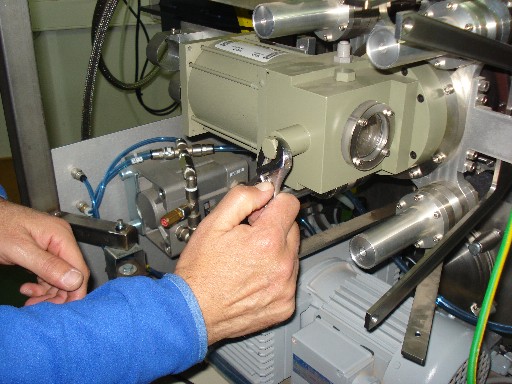
10. Support the head then remove the 6 black bolts that hold the head in place.
11. Note that the location of the bolts as they are of different lengths, ready for reassembly.

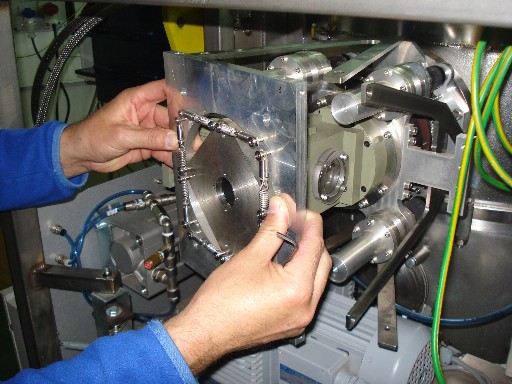
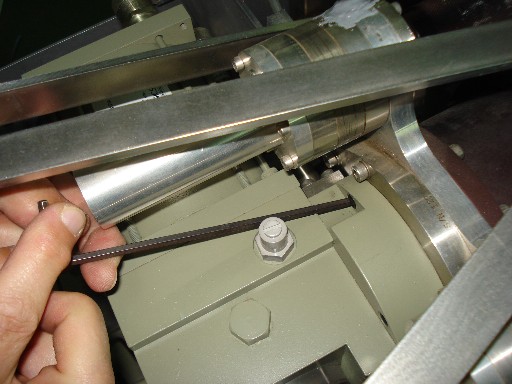
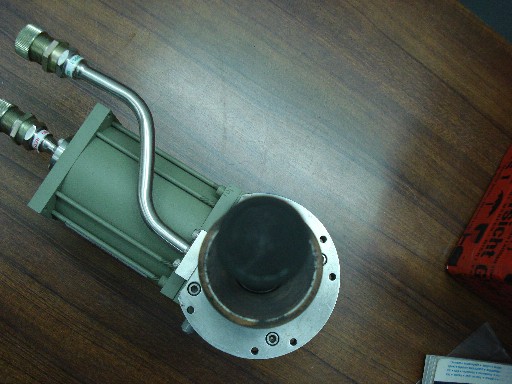
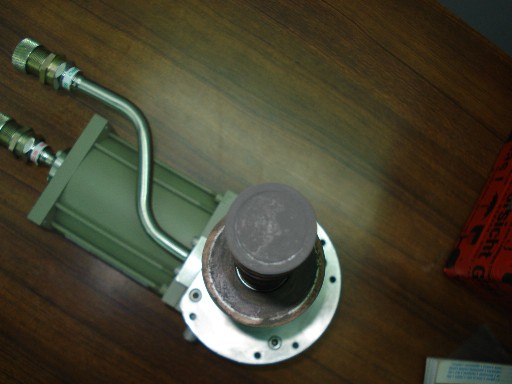
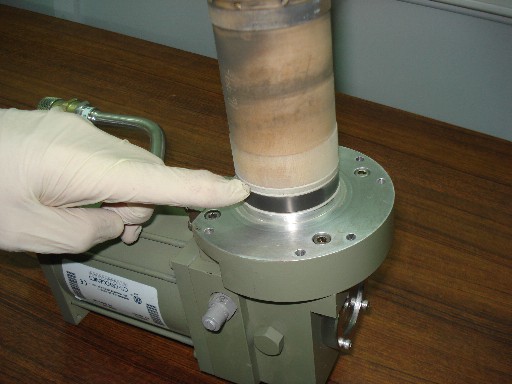
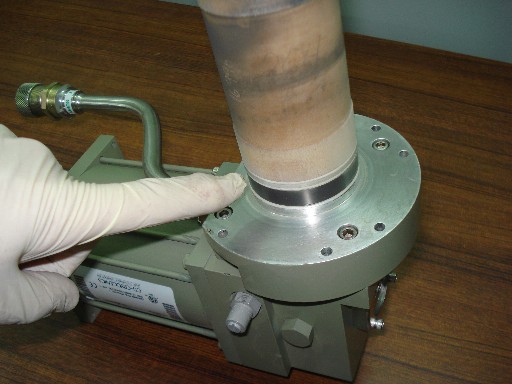
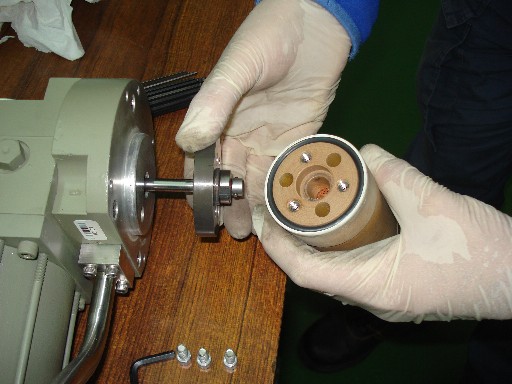
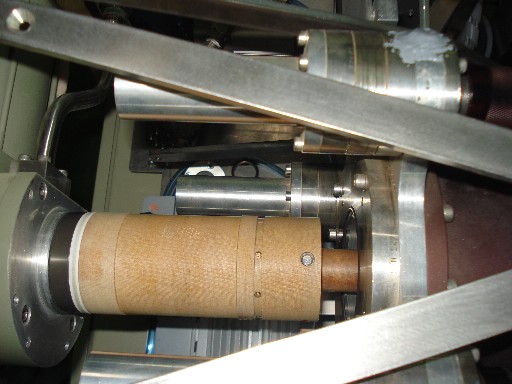
12. Slowly and carefully pull the cold head away from the instrument keeping it horizontal until it is completely detached from the instrument.

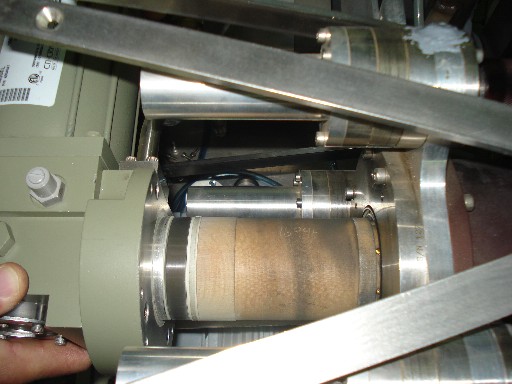
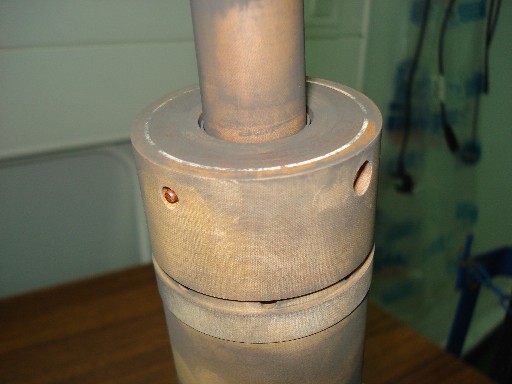
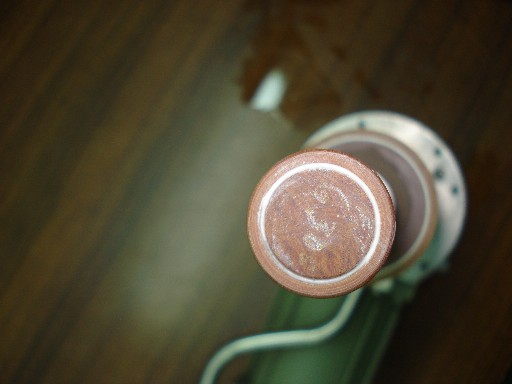
13. This is a good example of a very dirty head before dissasembly.
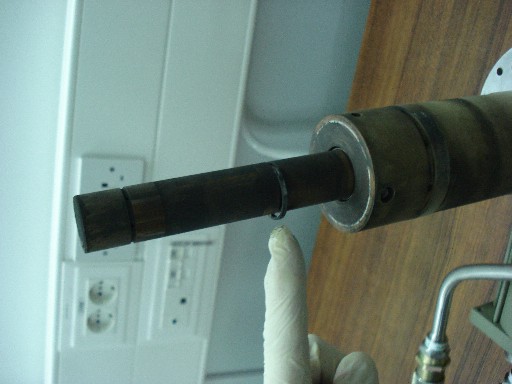
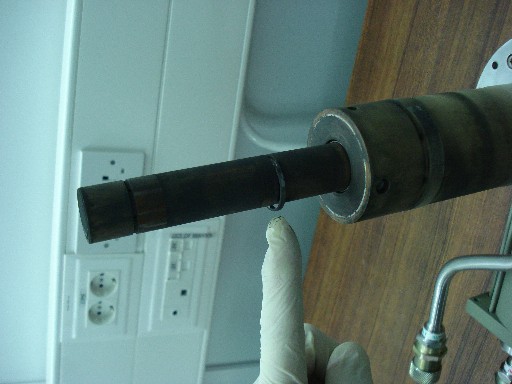

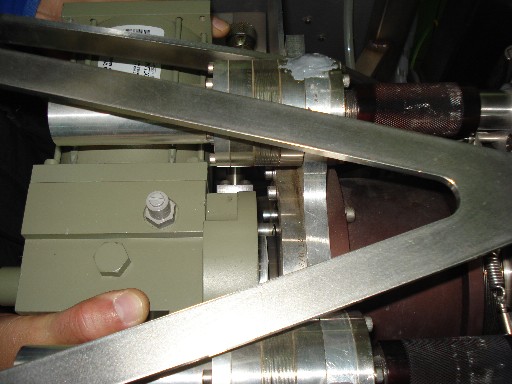
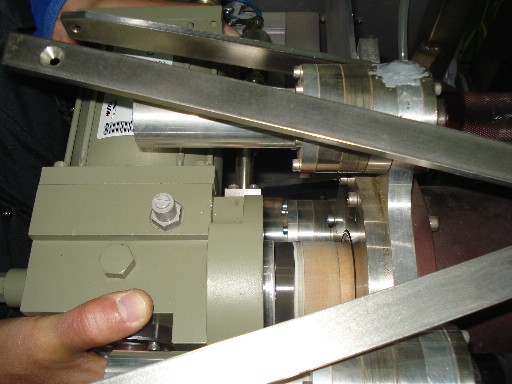
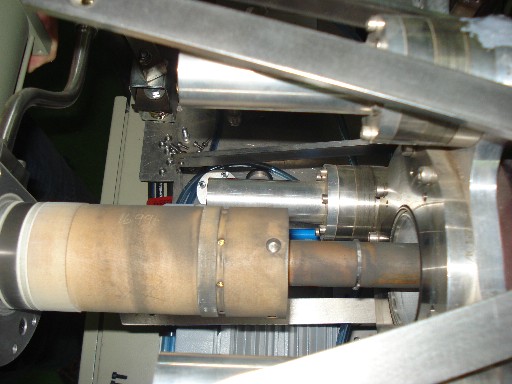
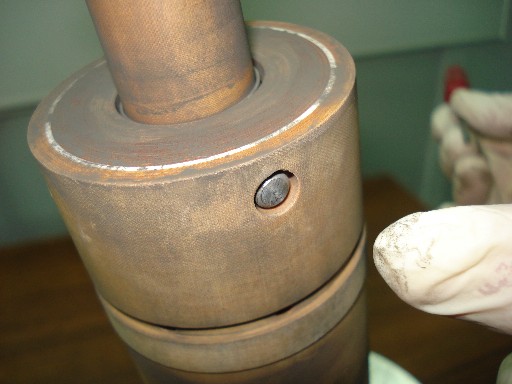
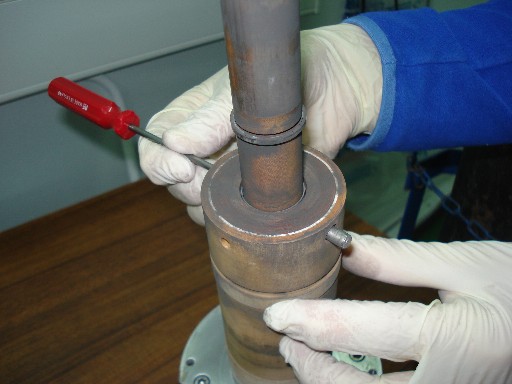
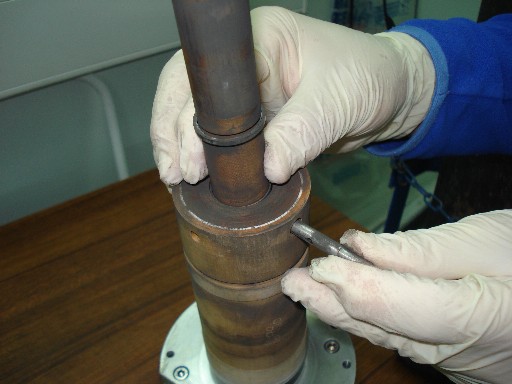
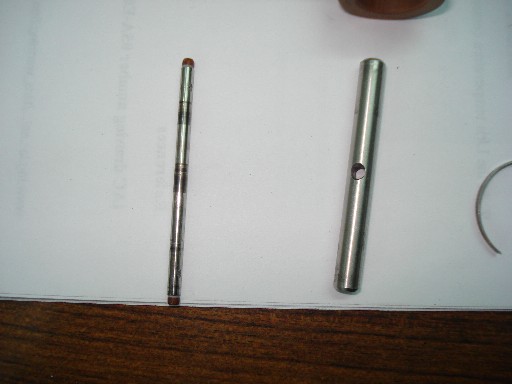
14. To remove the second stage, carefuly push out the thinner of the 2 locking pins with a screwdriver.
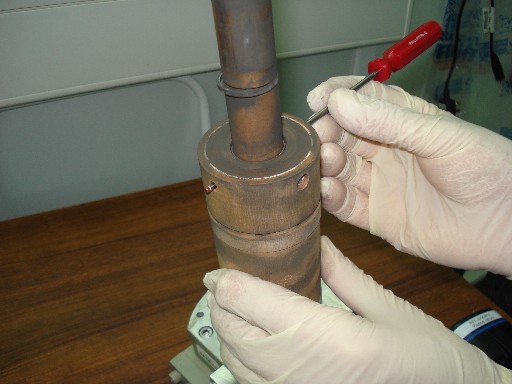
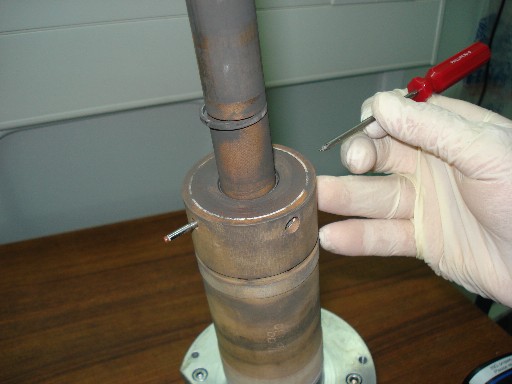
15. Then push out the second thicker pin which is at 90 degrees to the first.
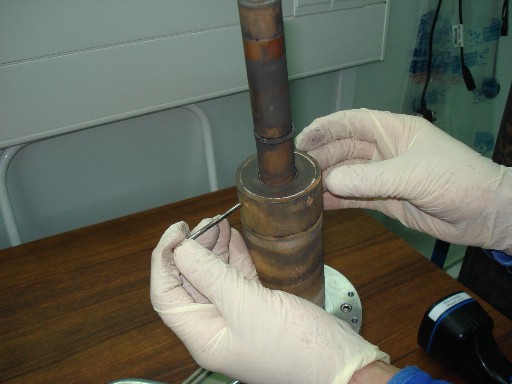
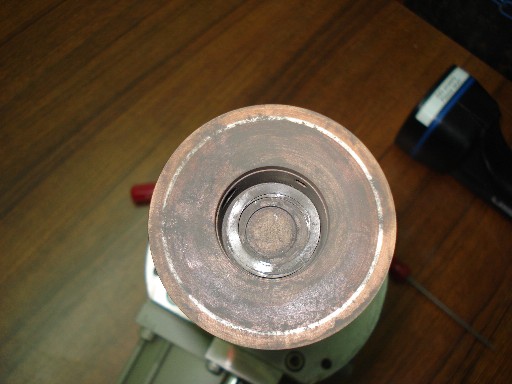
16. The second stage will now come away.

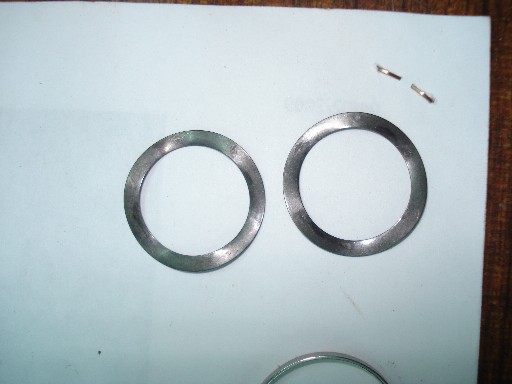
17. Note the location of the spring washers ready for re-assembly
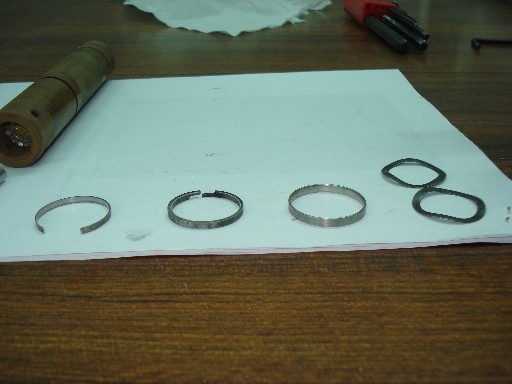
18. A complete set of rather dirty components for the second stage.
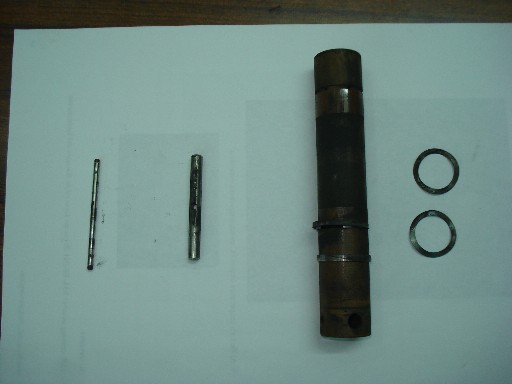
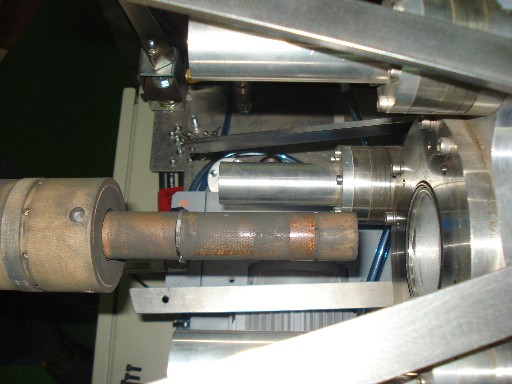
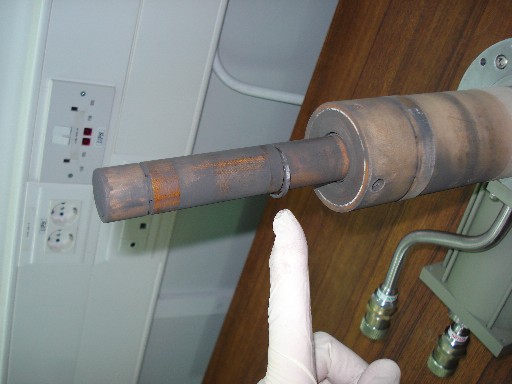
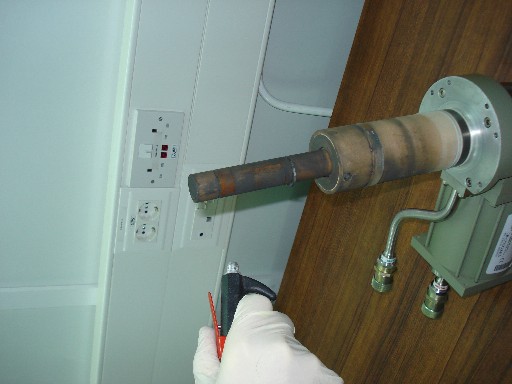
19. Now remove the 3 bolts that hold the first stage in place.
20. Remove the first stage
21. Note the locating dowel used in reassembly
22. Cleaning of the components should be carried using a compressed air line ( wear eye protection ) and propanol. The components should then be baked in the vacuum oven at a temperature of 40C (the minimum) for 4/5 hours. The vacuum oven heater should be switched off overnight to allow the compents to cool before the oven is ventilated.
Here we see the clean locking pins.
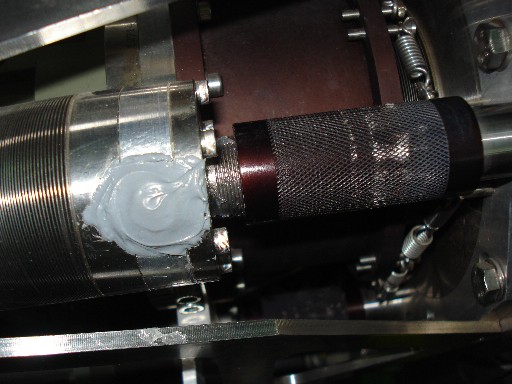
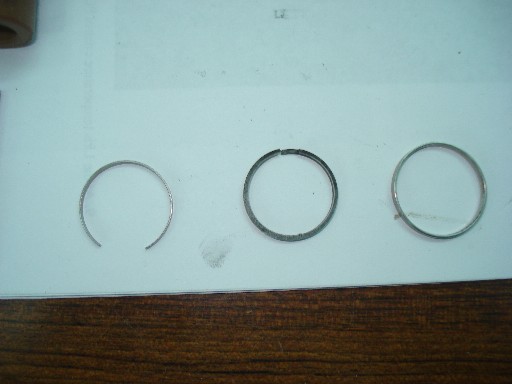
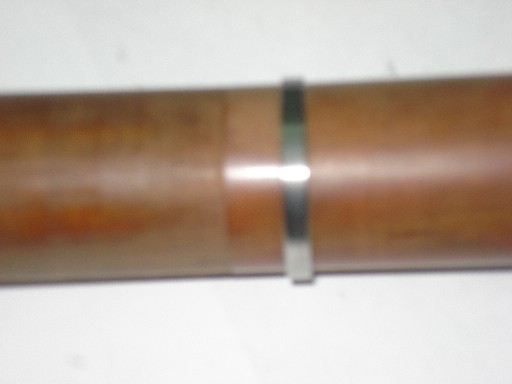
23. The pistons rings and the ring compressor, commonly know as the 'wedding ring'
24. The spring washers that fit between the first and second stages.
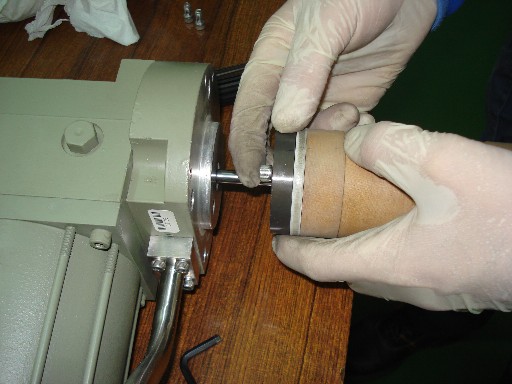
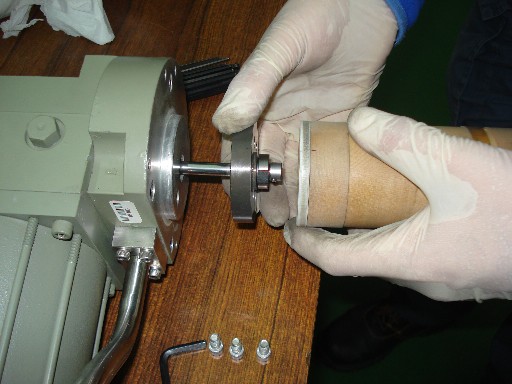
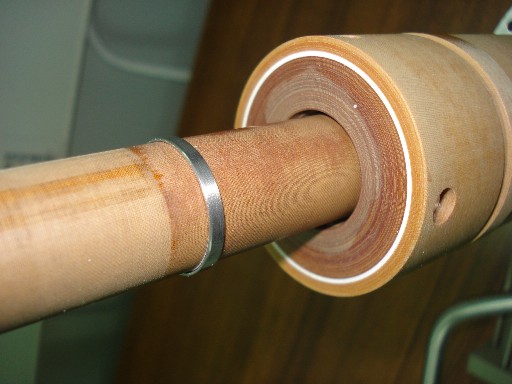
25. Once clean, reassembly is the reverse of dissassembly, there is however one very important thing to note. For the second stage to enter the sleeve, the rings must be compressed with the ring compressor. Then when the rebuilt head is pushed into the sleeve the the ring compressor will be pushed back out of the way and the rings will provide the seal. The head must be pushed into the sleeve prefectly straight, there is only one opportunity to do this.
If the head doesn't go in smoothly then the ring compressor will be need to be re-seated before you can try again, this may require several attempts. Never try to force the head into place, you will damage it, they are very expensive.
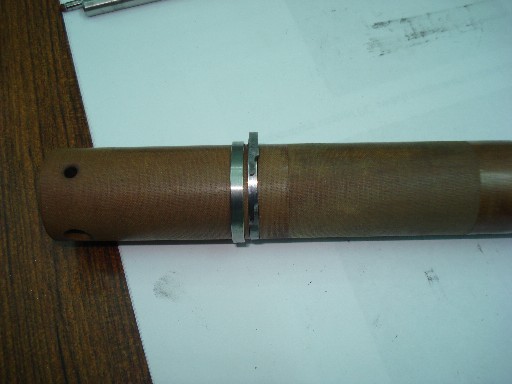
This image shows the piston rings in place but not compressed ( to the right ) and the ring compressor ( to the left ).
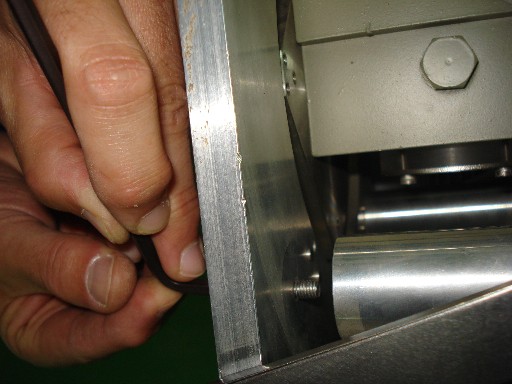
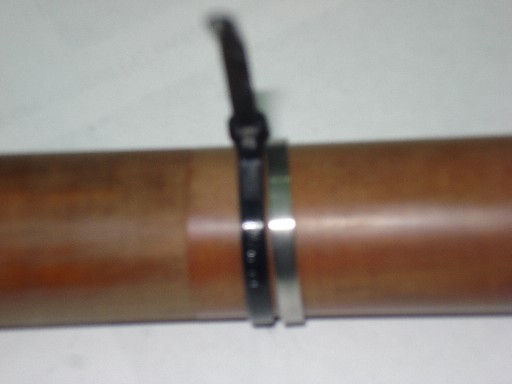
26. The technique we us is to compress the rings with a cable tie and then slide the ring compressor over the rings, then remove the cable tie.

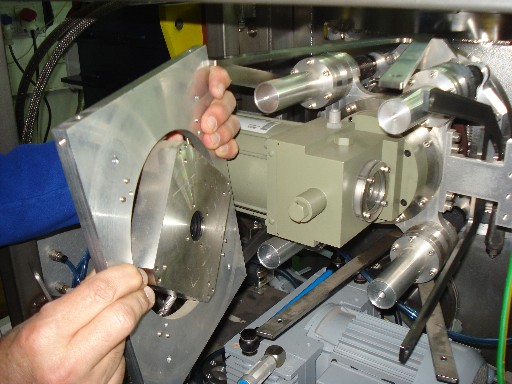
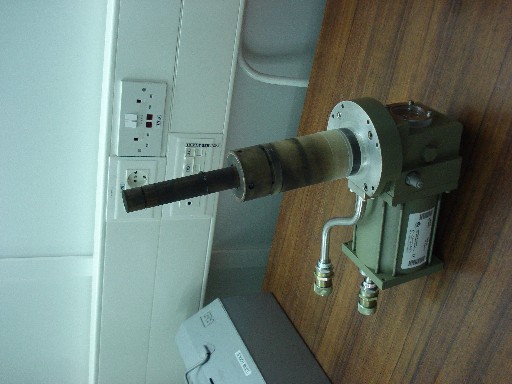
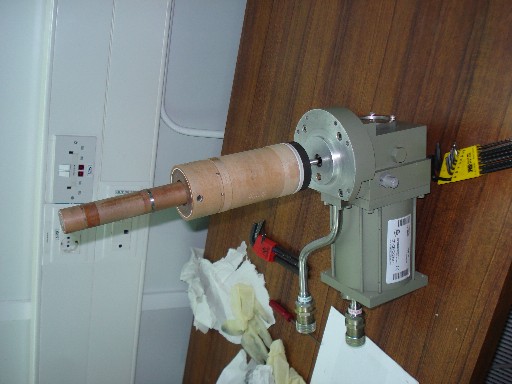
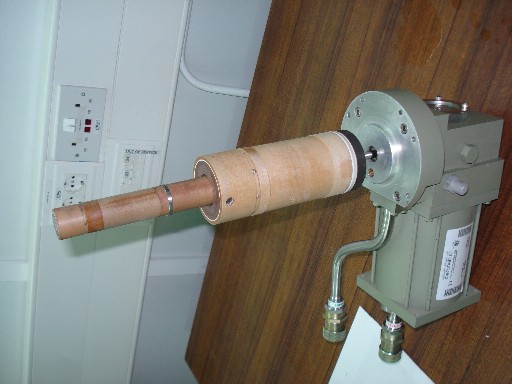
27. A clean and rebuilt head with the ring compressor in place ready to be fitted to the sleeve.
28. Don't forget to clean the inside of the sleeve, do so with propanol using a cloth attached to something that won't scratch. If you scratch the sleeve you will become very very unpopular.
29. The head must be pushed into the sleeve prefectly straight, there is only one opportunity to do this. If the head doesn't go in smoothly then the ring compressor will be need to be re-seated before you can try again, this may require several attempts. Never try to force the head into place, you will damage it, they are very expensive.
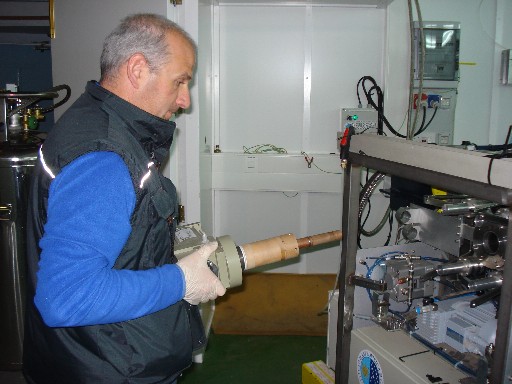

30. When the head has been ressembled it will need to flushed with helium as described here before it can be reconnected to the compressor.
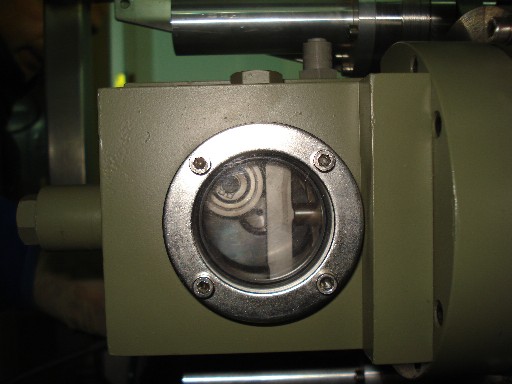
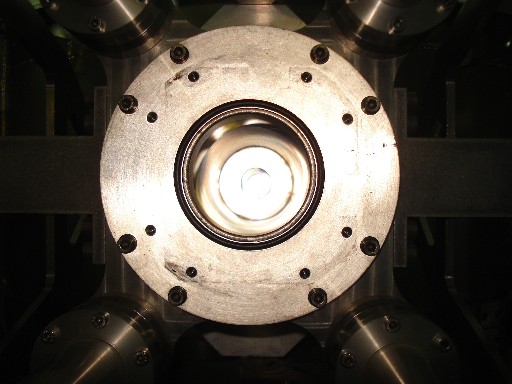
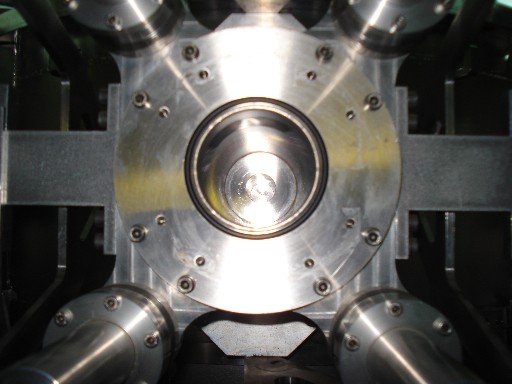
31. Later heads are fitted with an inspection window where the movement of the head can be seen.