Liris Cassegrain cable-wrap helium line termination and charging
Andy Ridings, Roberto Martinez
3rd August 2018
This document describes the fitting of Swagelok terminations and the charging with helium of new cable-wrap pipes.
Spare pipes and fittings can be found in the cryogenic cupboard in the Liris room. Should more be required here are details of the pipes and the swagelok fittings. l
NB Spare pipes should be stored in a dry environment. Before fitting they should heated, vacuum pumped and sealed before the following the procedure below.
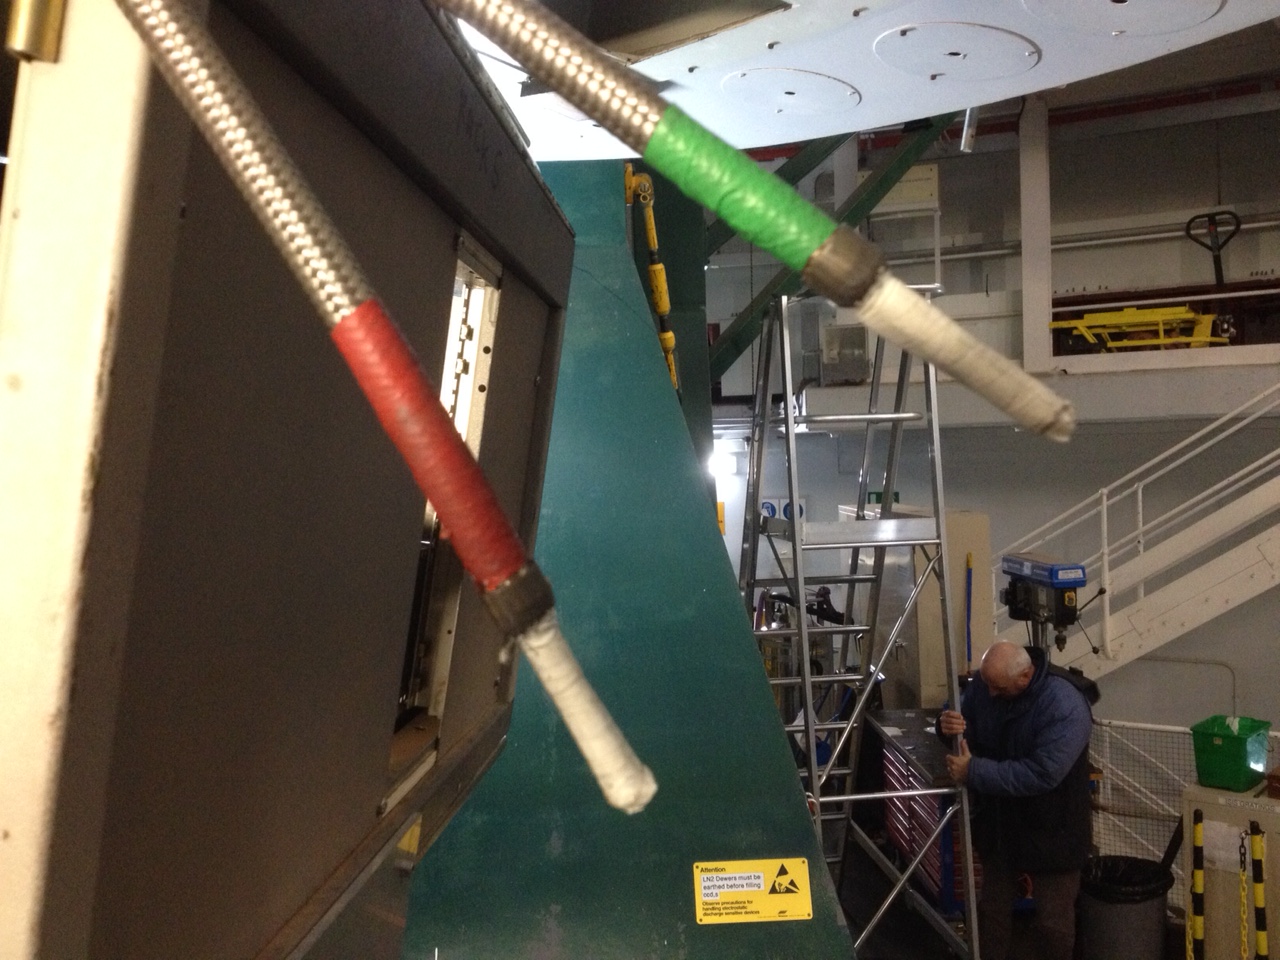
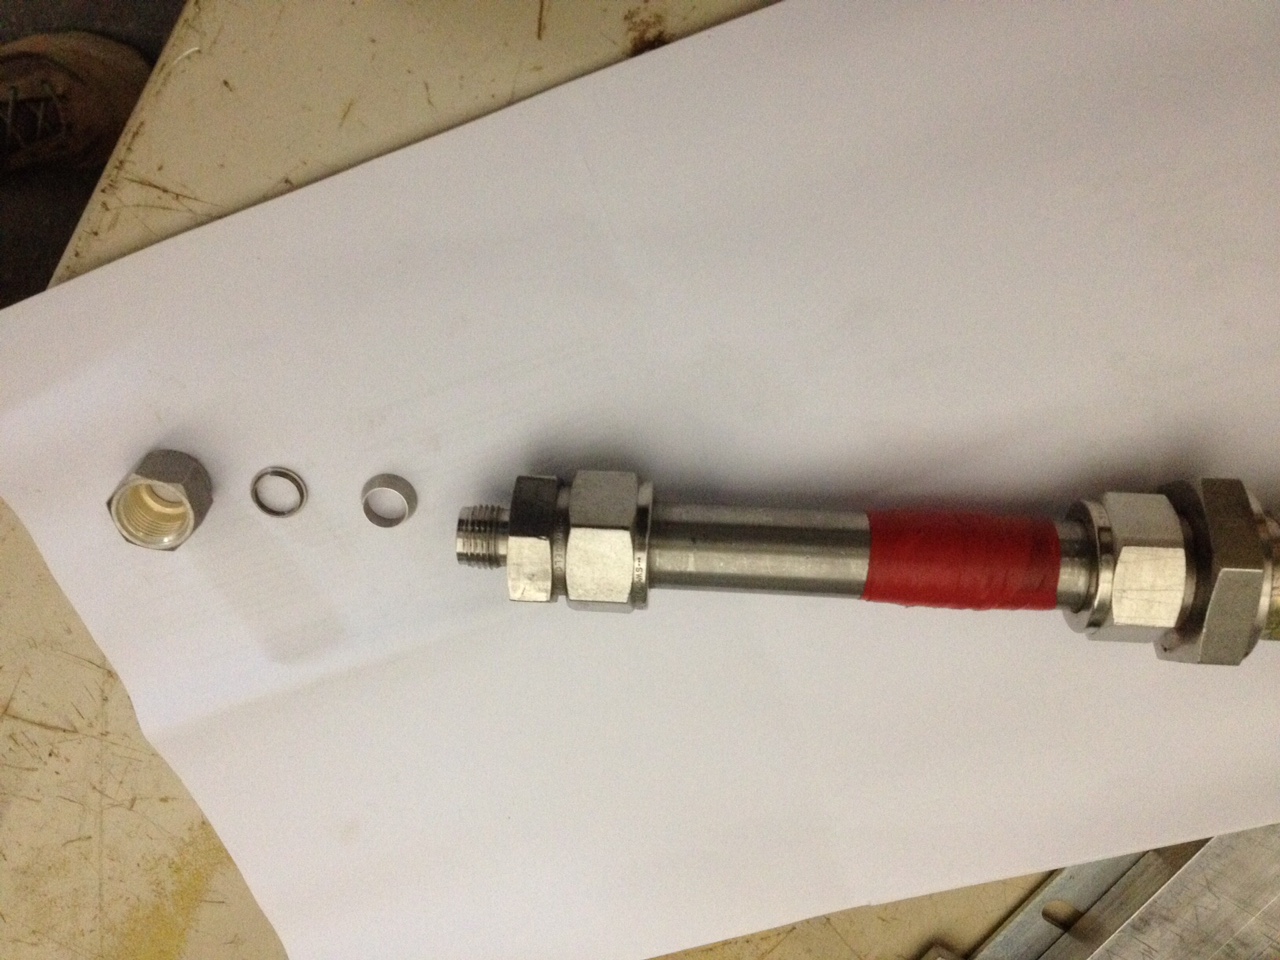
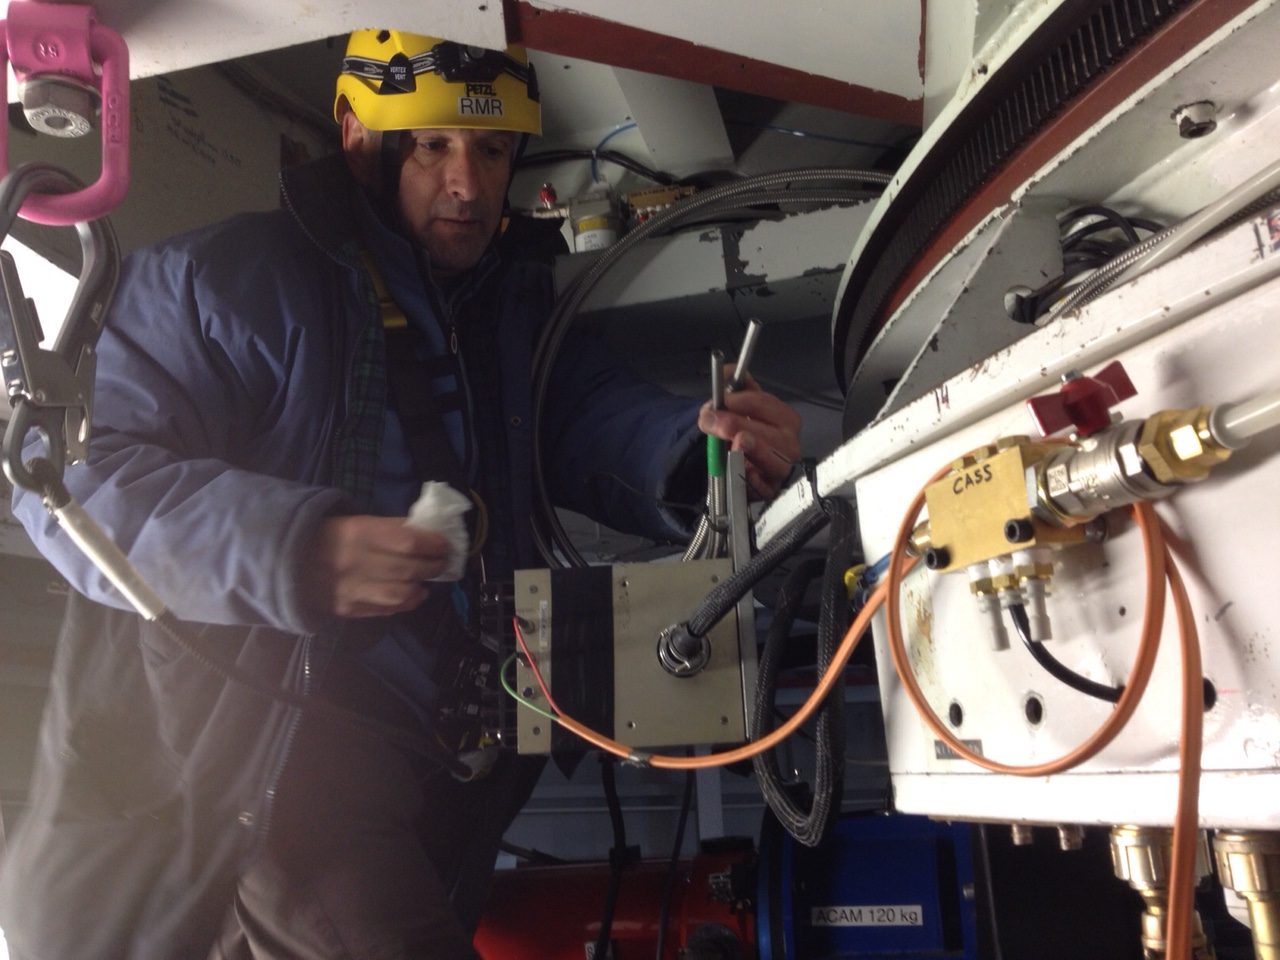
1. This shows one end of each of the helium lines, the white tape was added to protect the surface of the pipe terminations. The two pipes are physically identical but on has been marked green (supply) and the other red (return).
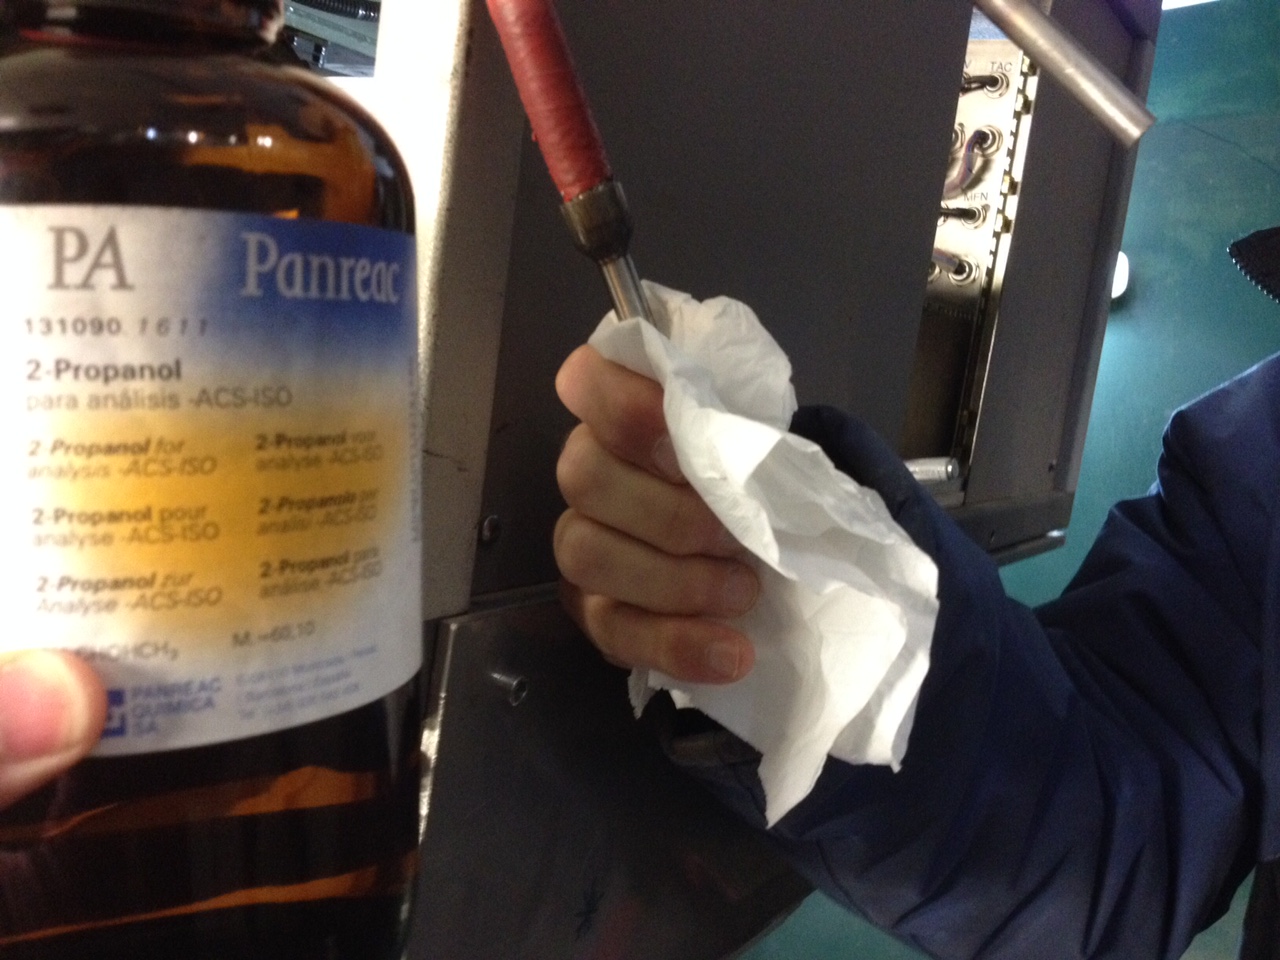
2. The protective tape must be removed and the surfaces cleaned with alcohol
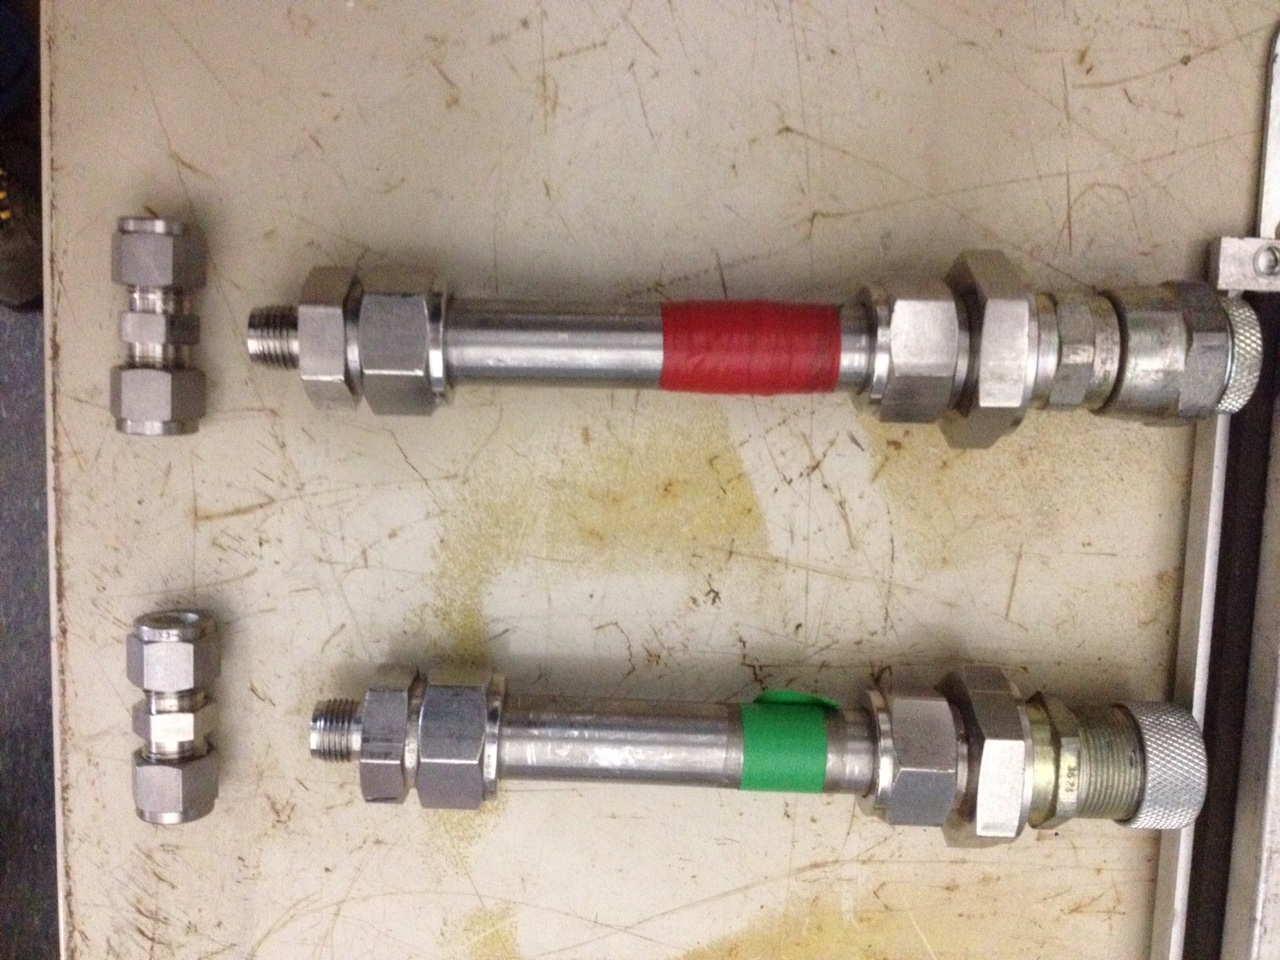
3. The pipe fittings, to the left to connect to the cable-wrap helium line and to the right the standard 1/2" connecter that will lead to the cold head.
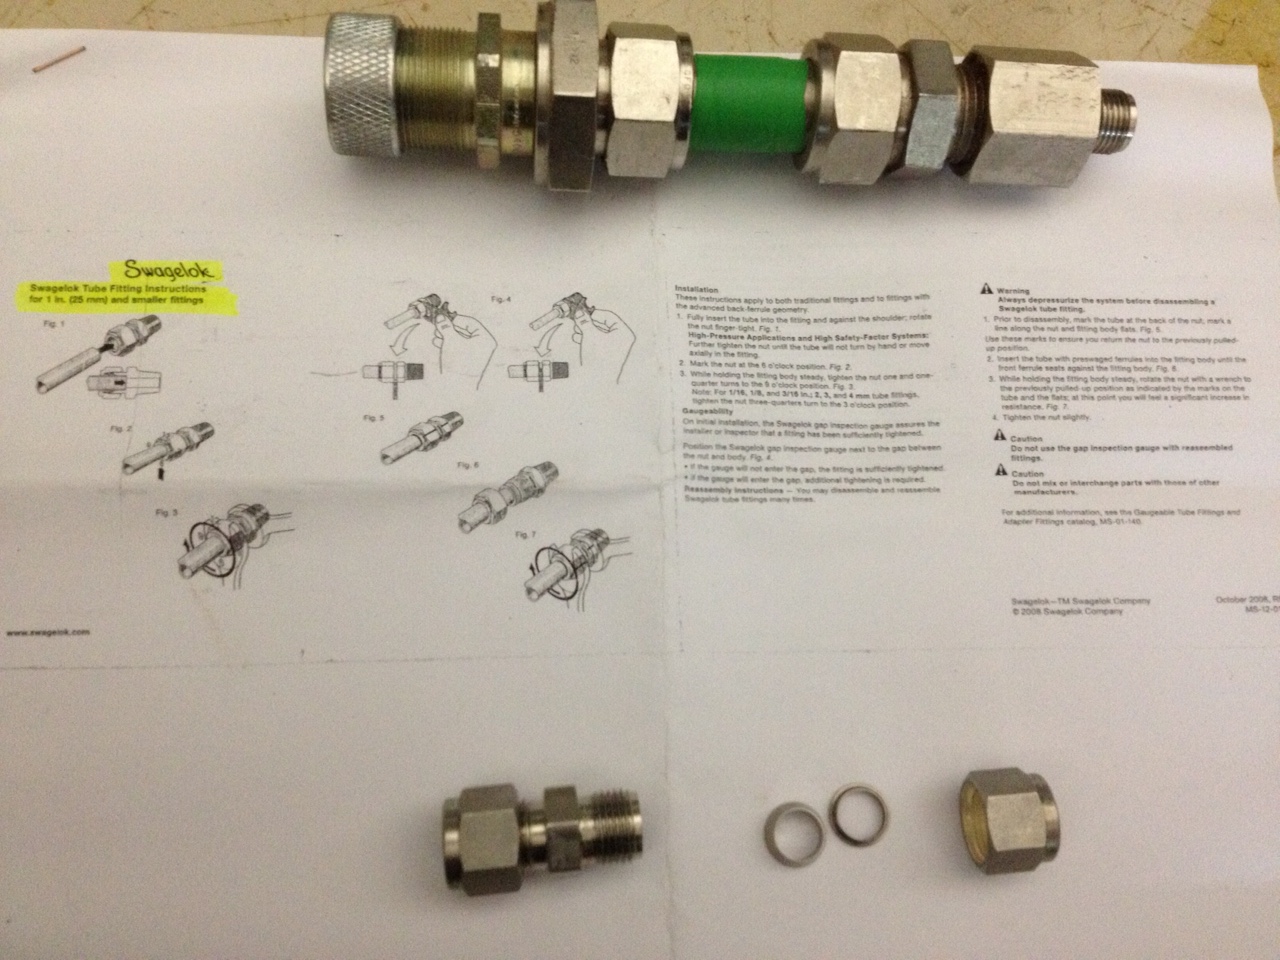
4. A breakdown of the Swagelok connector
5. Detailed instructions accompany the spares.
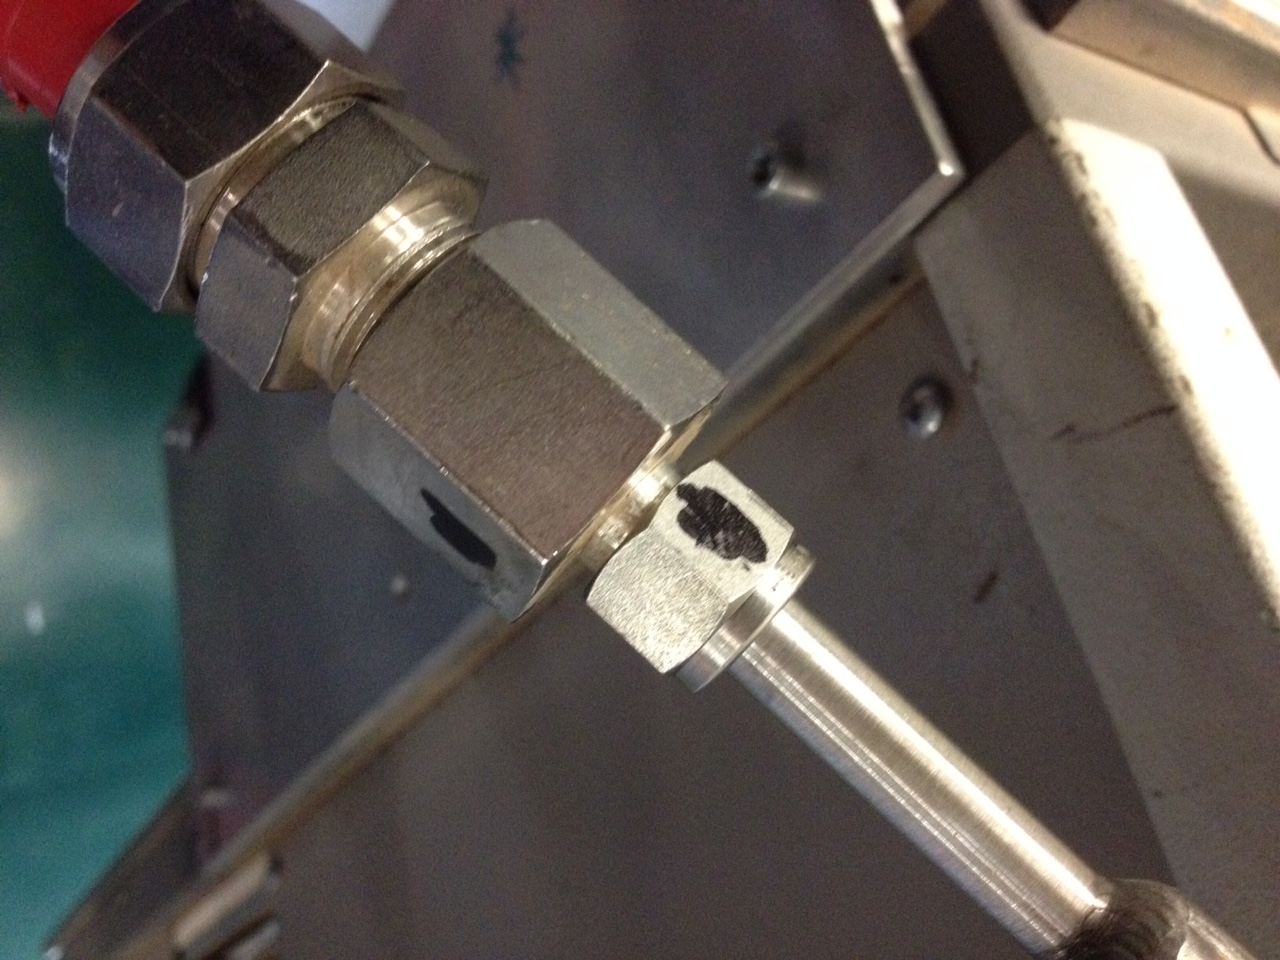
6. The assembly before tightening.

7. The nuts must first be tightened by hand, then a further 1 and 1/4 turns. Marking the nuts will help with this.
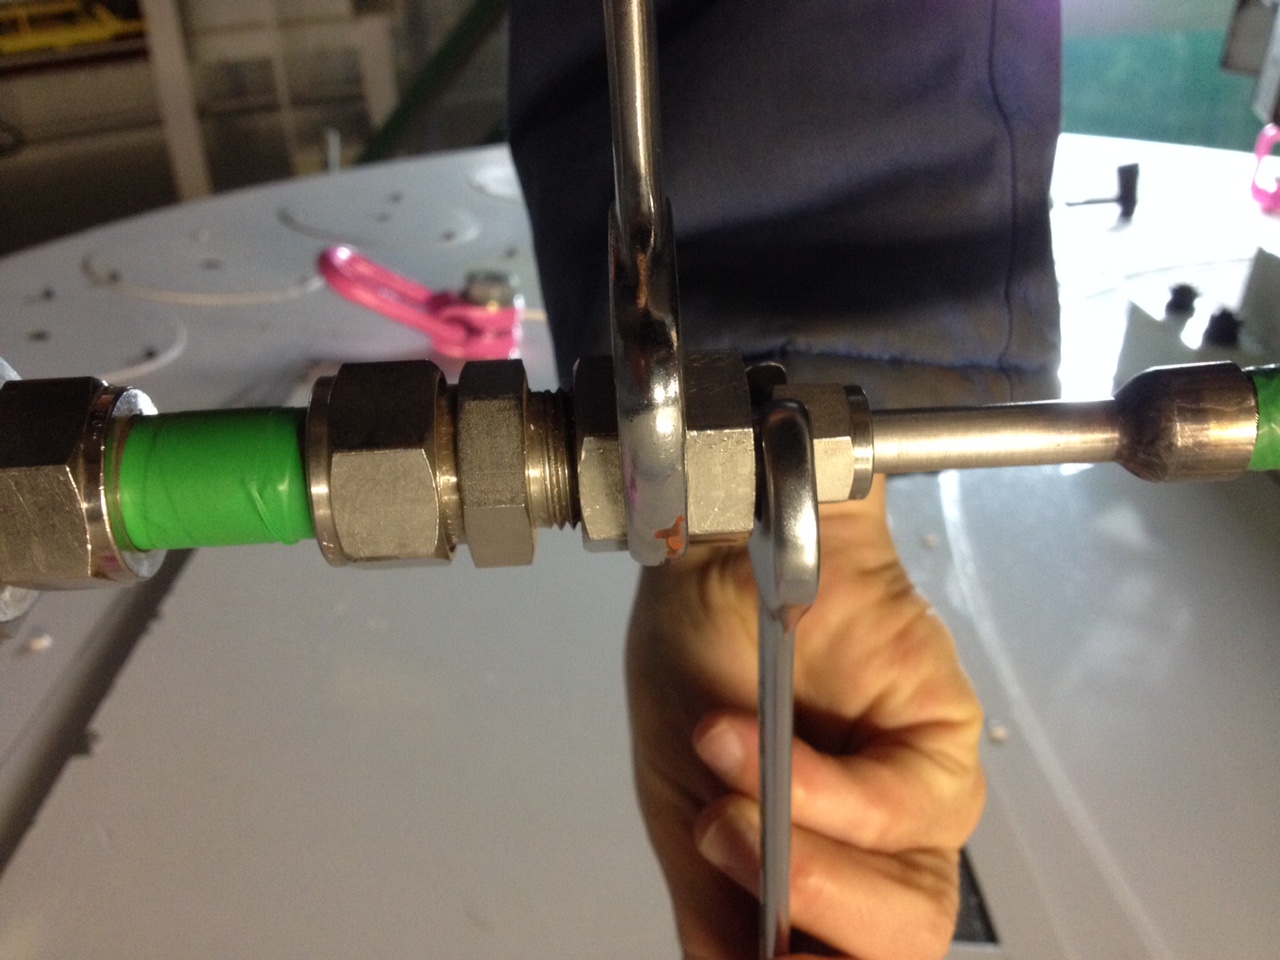
8. Tighten the pipes, ensure that the two pipes are pushed firmly together.
9. Both ends of each pipe need to be terminated.
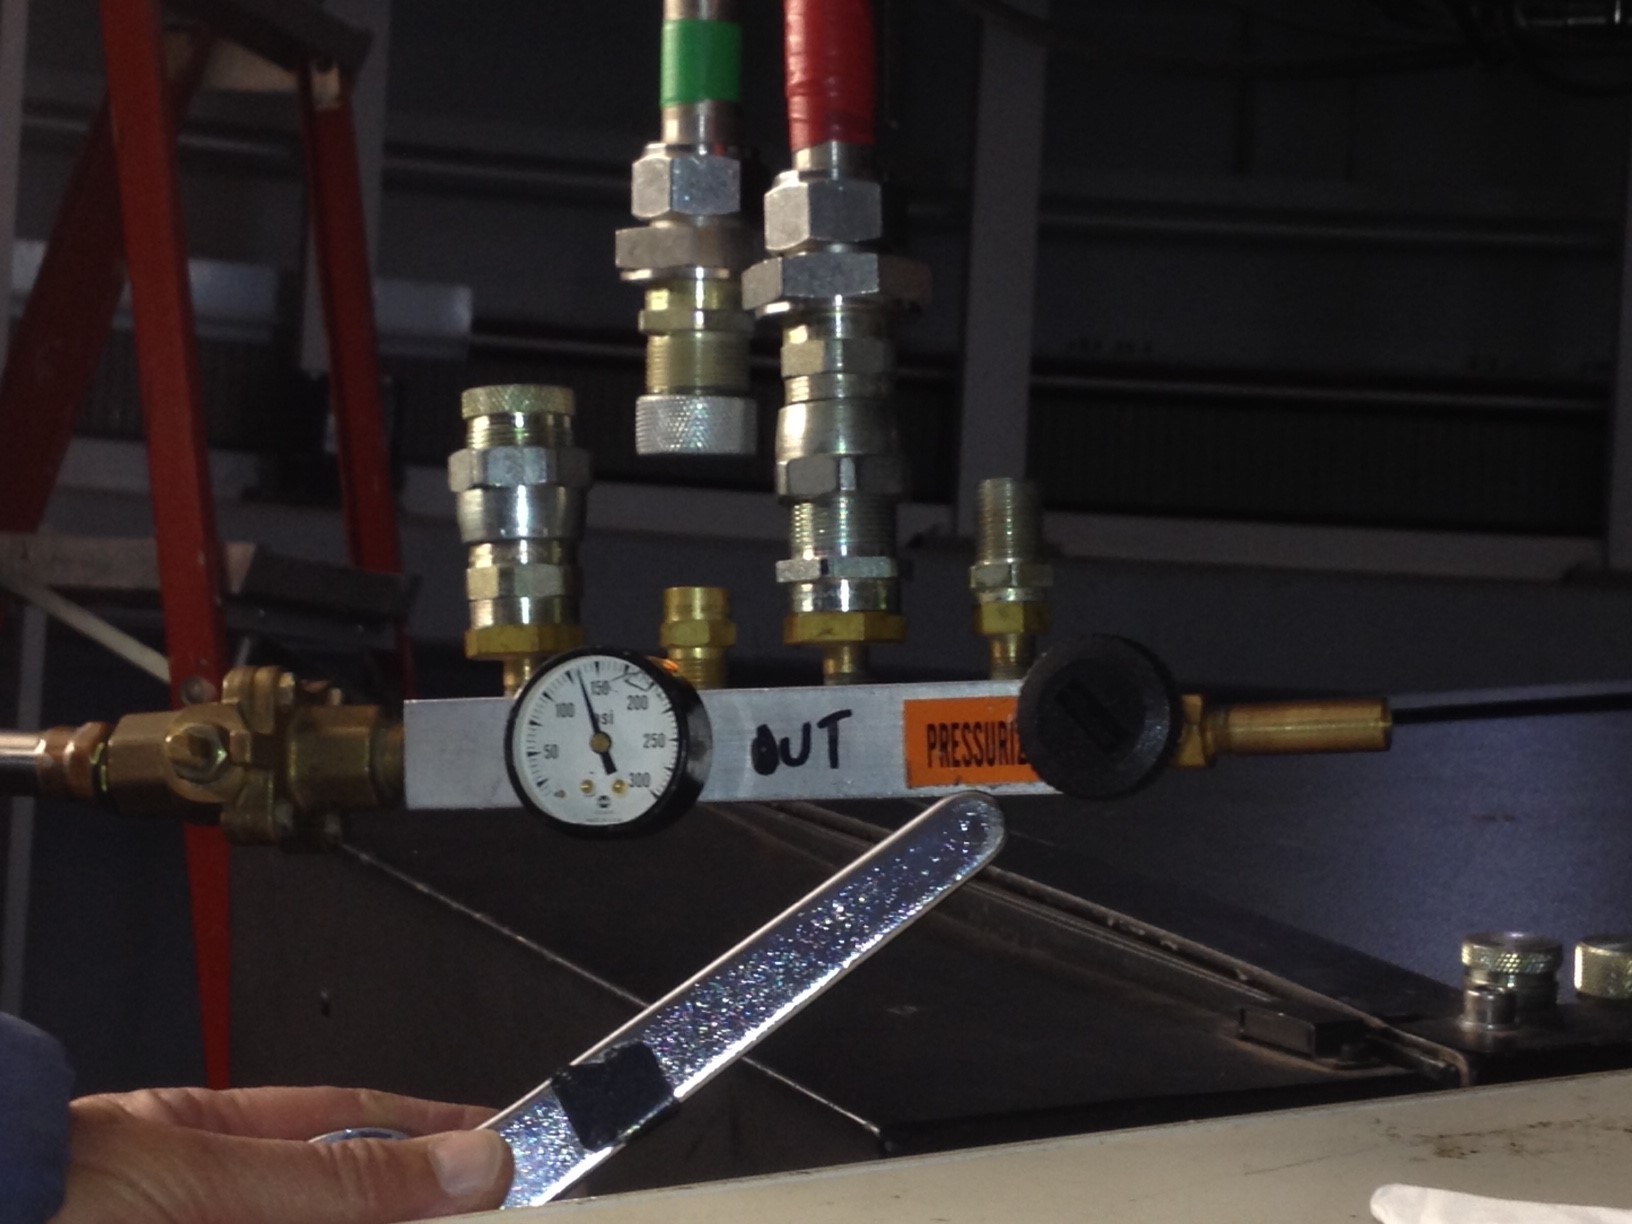
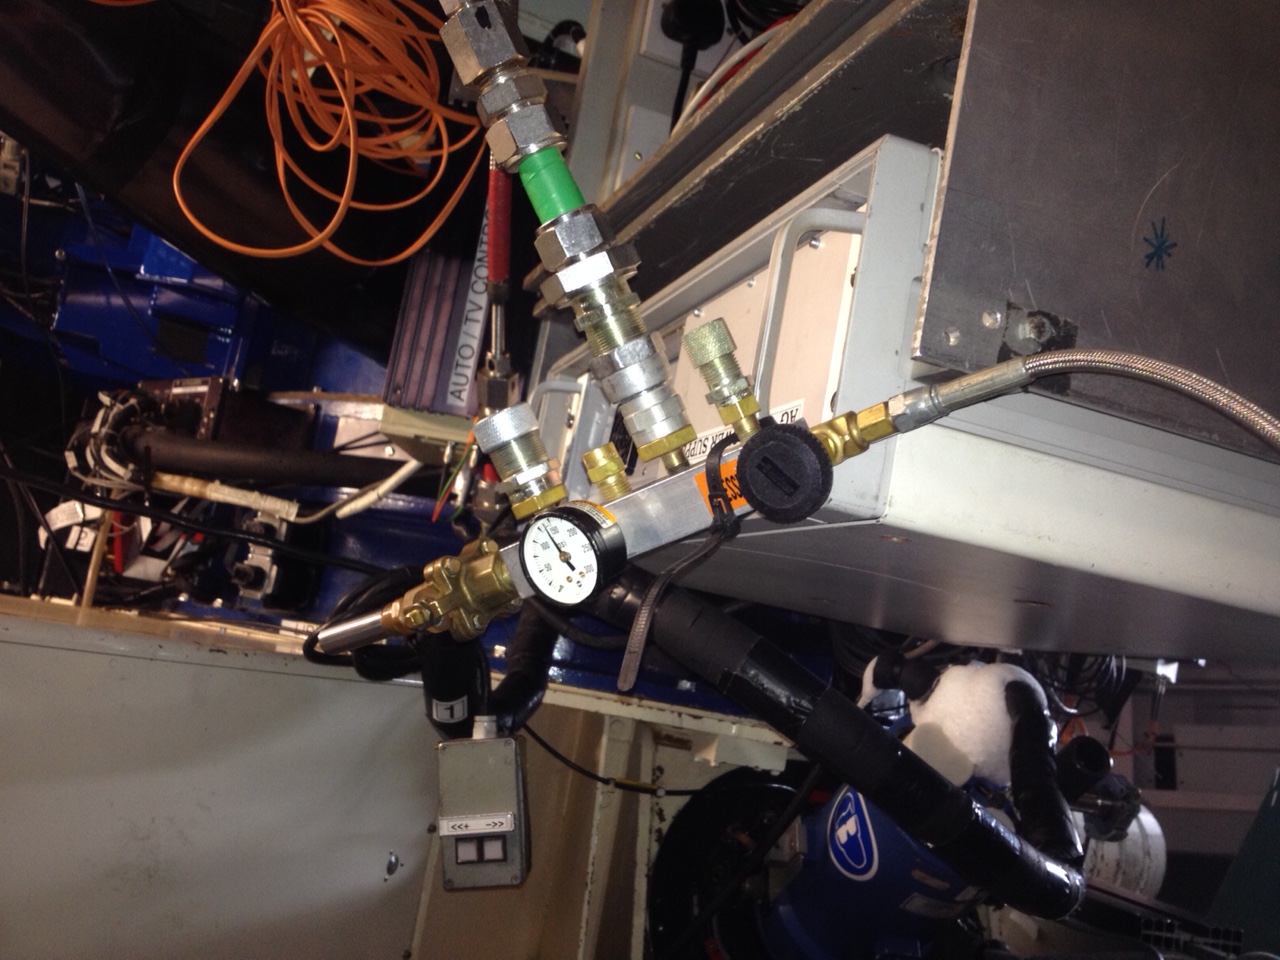
10. Fit an exhaust manifold at one end of one of the pipes, the black knob regulates the exhaust flow.
11. At the other end fit a manifold with a connection to a helium bottle. Note the hose to the helium bottle to the right.
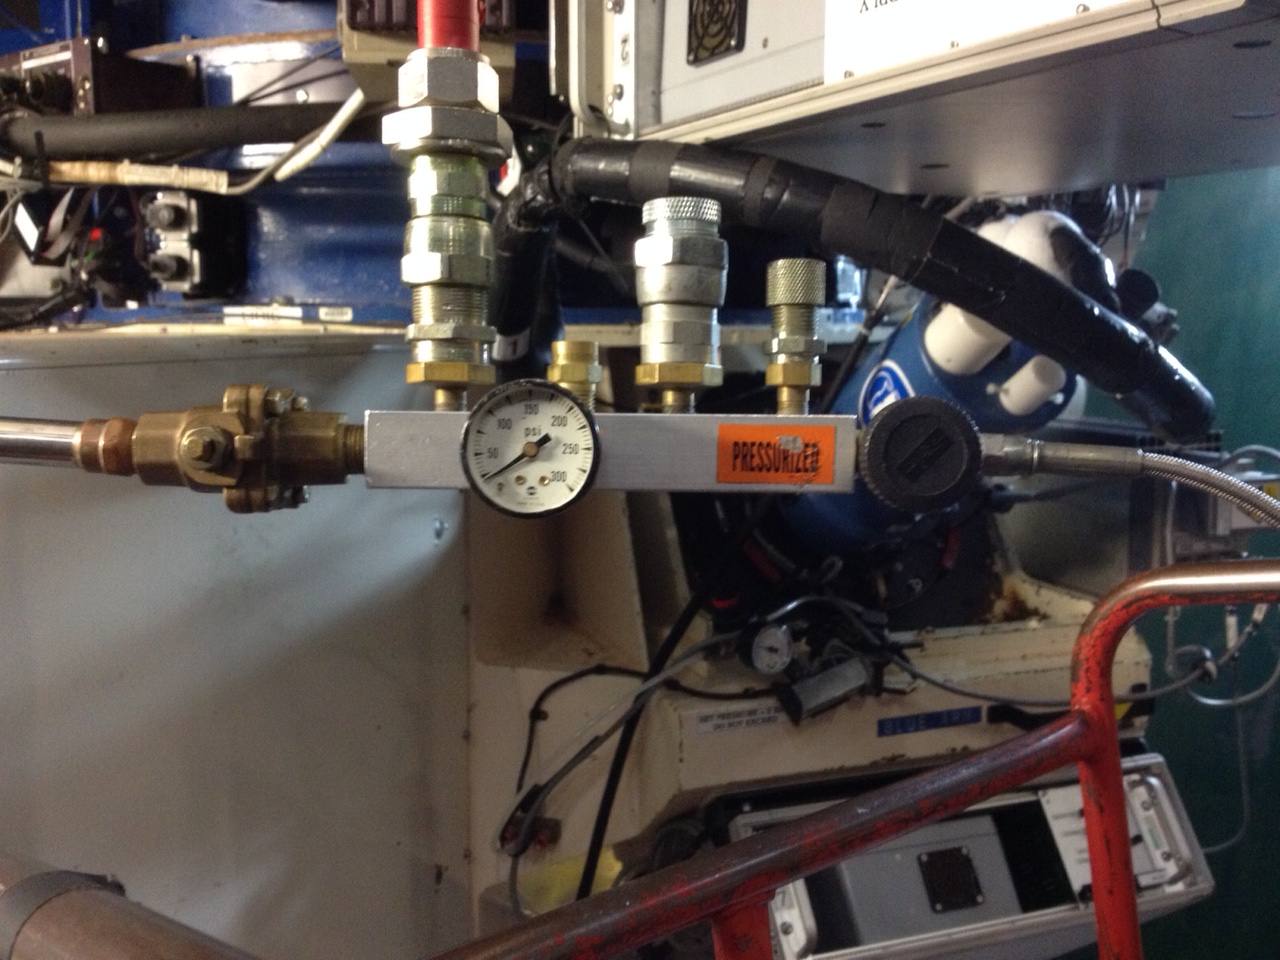
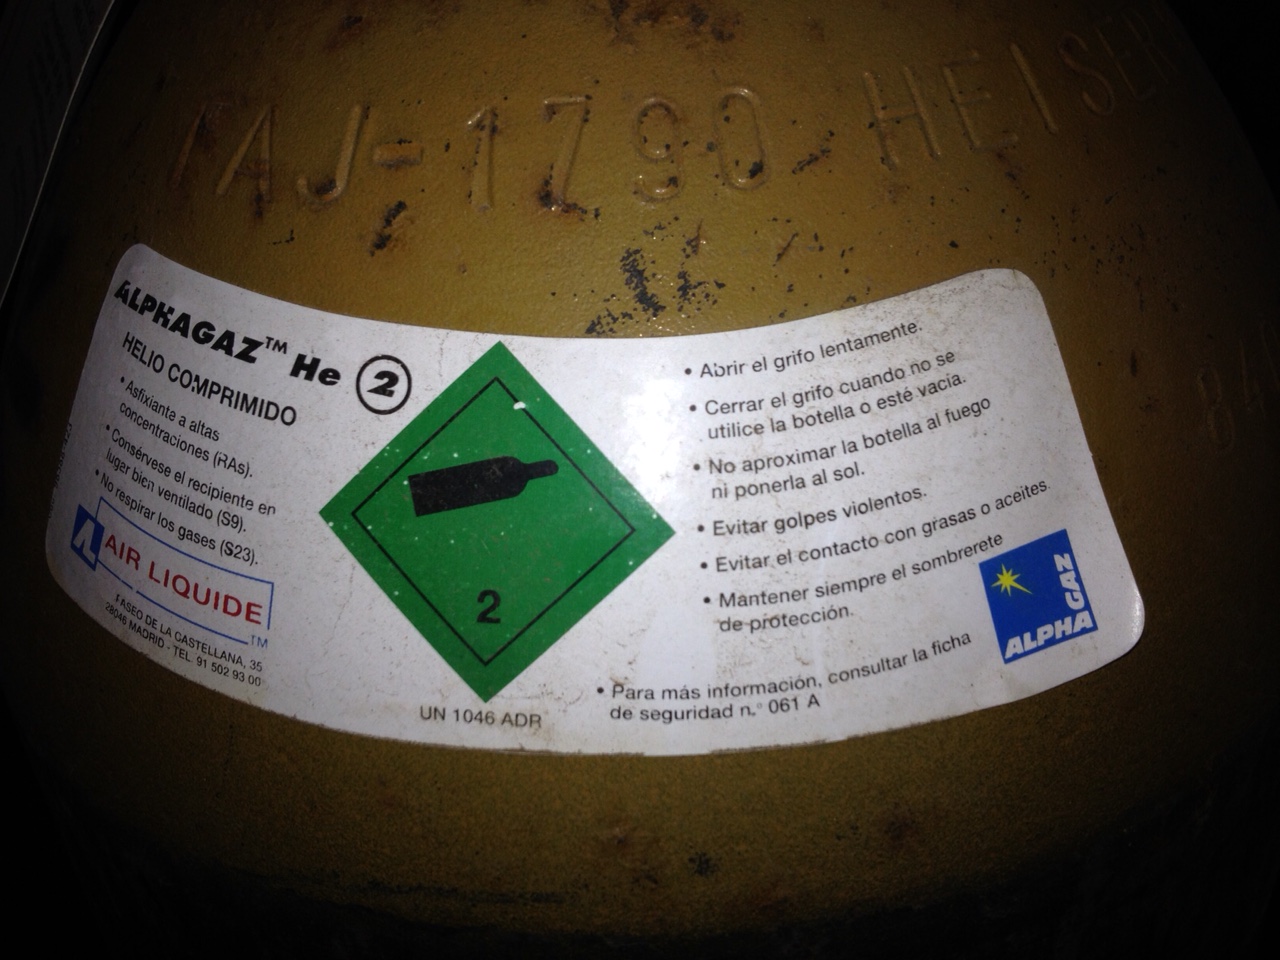
12. Be sure you are connected to helium.
13. To Flush the helium line for five minutes, then close the exhaust valve and leave charged at 250 PSI. Repeat for the second line.
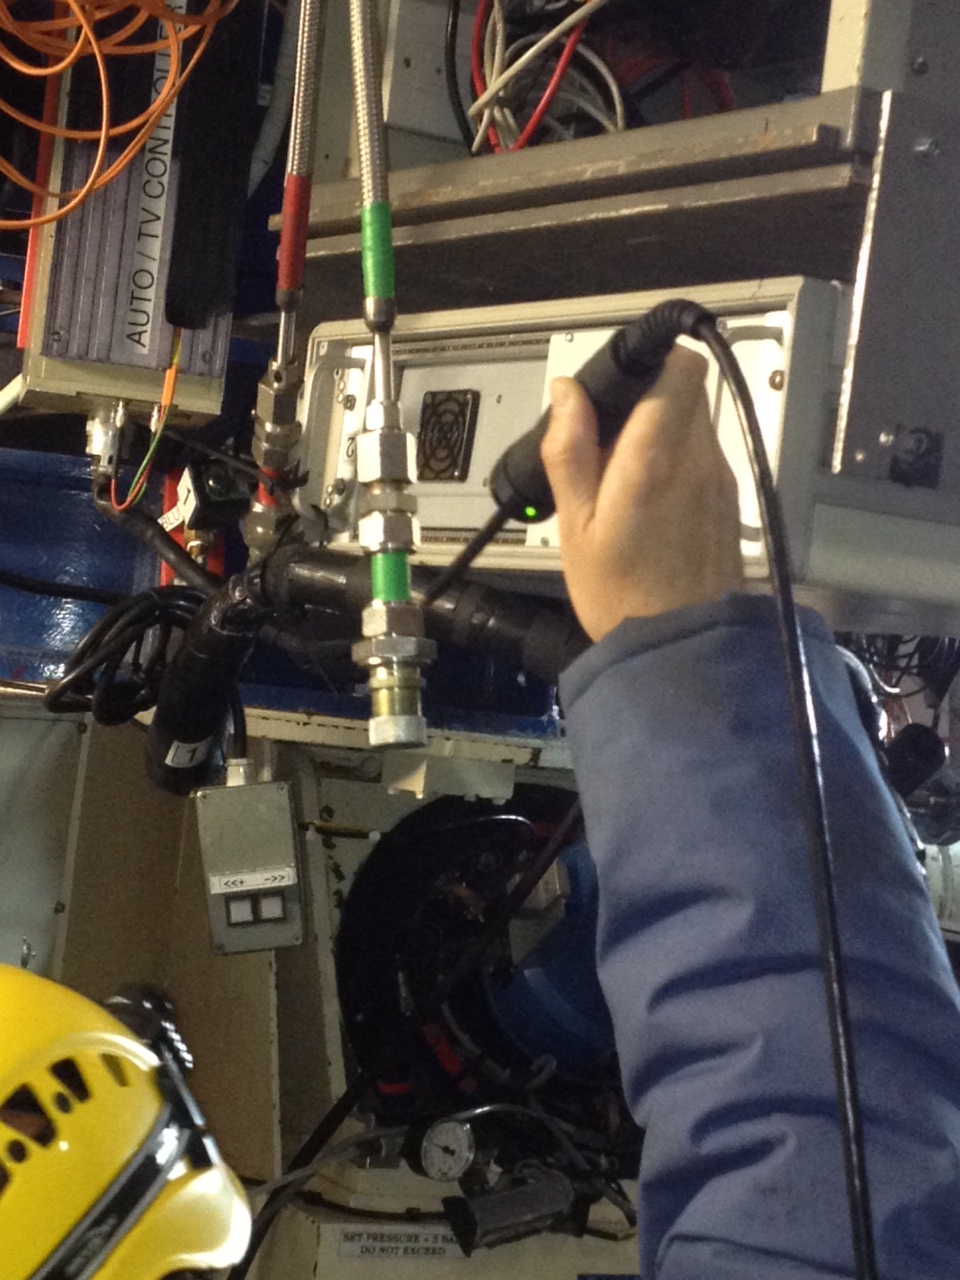
14. Each of the new connections should be checked with the leak detector helium sniffer.